Art Journals and Sketchbooks are Invaluable for the Creative Process I have to admit that I have a love affair/addiction with art journals and sketchbooks. The sketchbook/journal section of an art supply store always draws me in like a magnet. It takes a lot of will power to resist buying more! Sketchbook work was always part of my curriculum as an arts educator, even when teaching young students. Many years ago, one of my high school students who knew that I liked them even gifted me a large, beautiful, fabric covered journal that I still use today.
Journals and sketchbooks are an invaluable part of the creative process. They are receptacles to collect the many thoughts, ideas and visual info that roll around in my mind. I don't work in them sequentially but in a more random manner as the need arises. In my stash, there's at least one for almost every kind of art related-purpose; taking notes at art lectures, making paint sketches, paint recipes, title ideas for artwork, drawing, doodling and more. They are all shapes, sizes and materials. (photo below)

©Christine Sauer , several journals from my collection
The paint journals are used for warm-up paintings, as reference for palette ideas, to explore color mixing in a variety of ways and for experiments using paint offloaded while working on other projects. I have competing tendencies/urges when painting so the journals are a great place to get some of that out of my system too! Favorite types of journals are spiral bound with heavy watercolor or mixed media paper. (photo below)

©Christine Sauer, paint journal experiments with acrylic paints. STUDIO TIP: Use wax paper or cooking parchment as interleaving to keep pages from sticking together.
I'm starting a new journal, one for mixed media collage using my stash of monoprints created on Gelli-plates. Customizing the journal cover is so important as it sets the tone for the creative exploration and play inside. I thought I'd share this super simple process that I used customize it. I repurposed an old blank book made over twenty years ago at a bookmaking workshop, but any journal or sketchbook will do as long as paper and fabric can be glued to the surface.
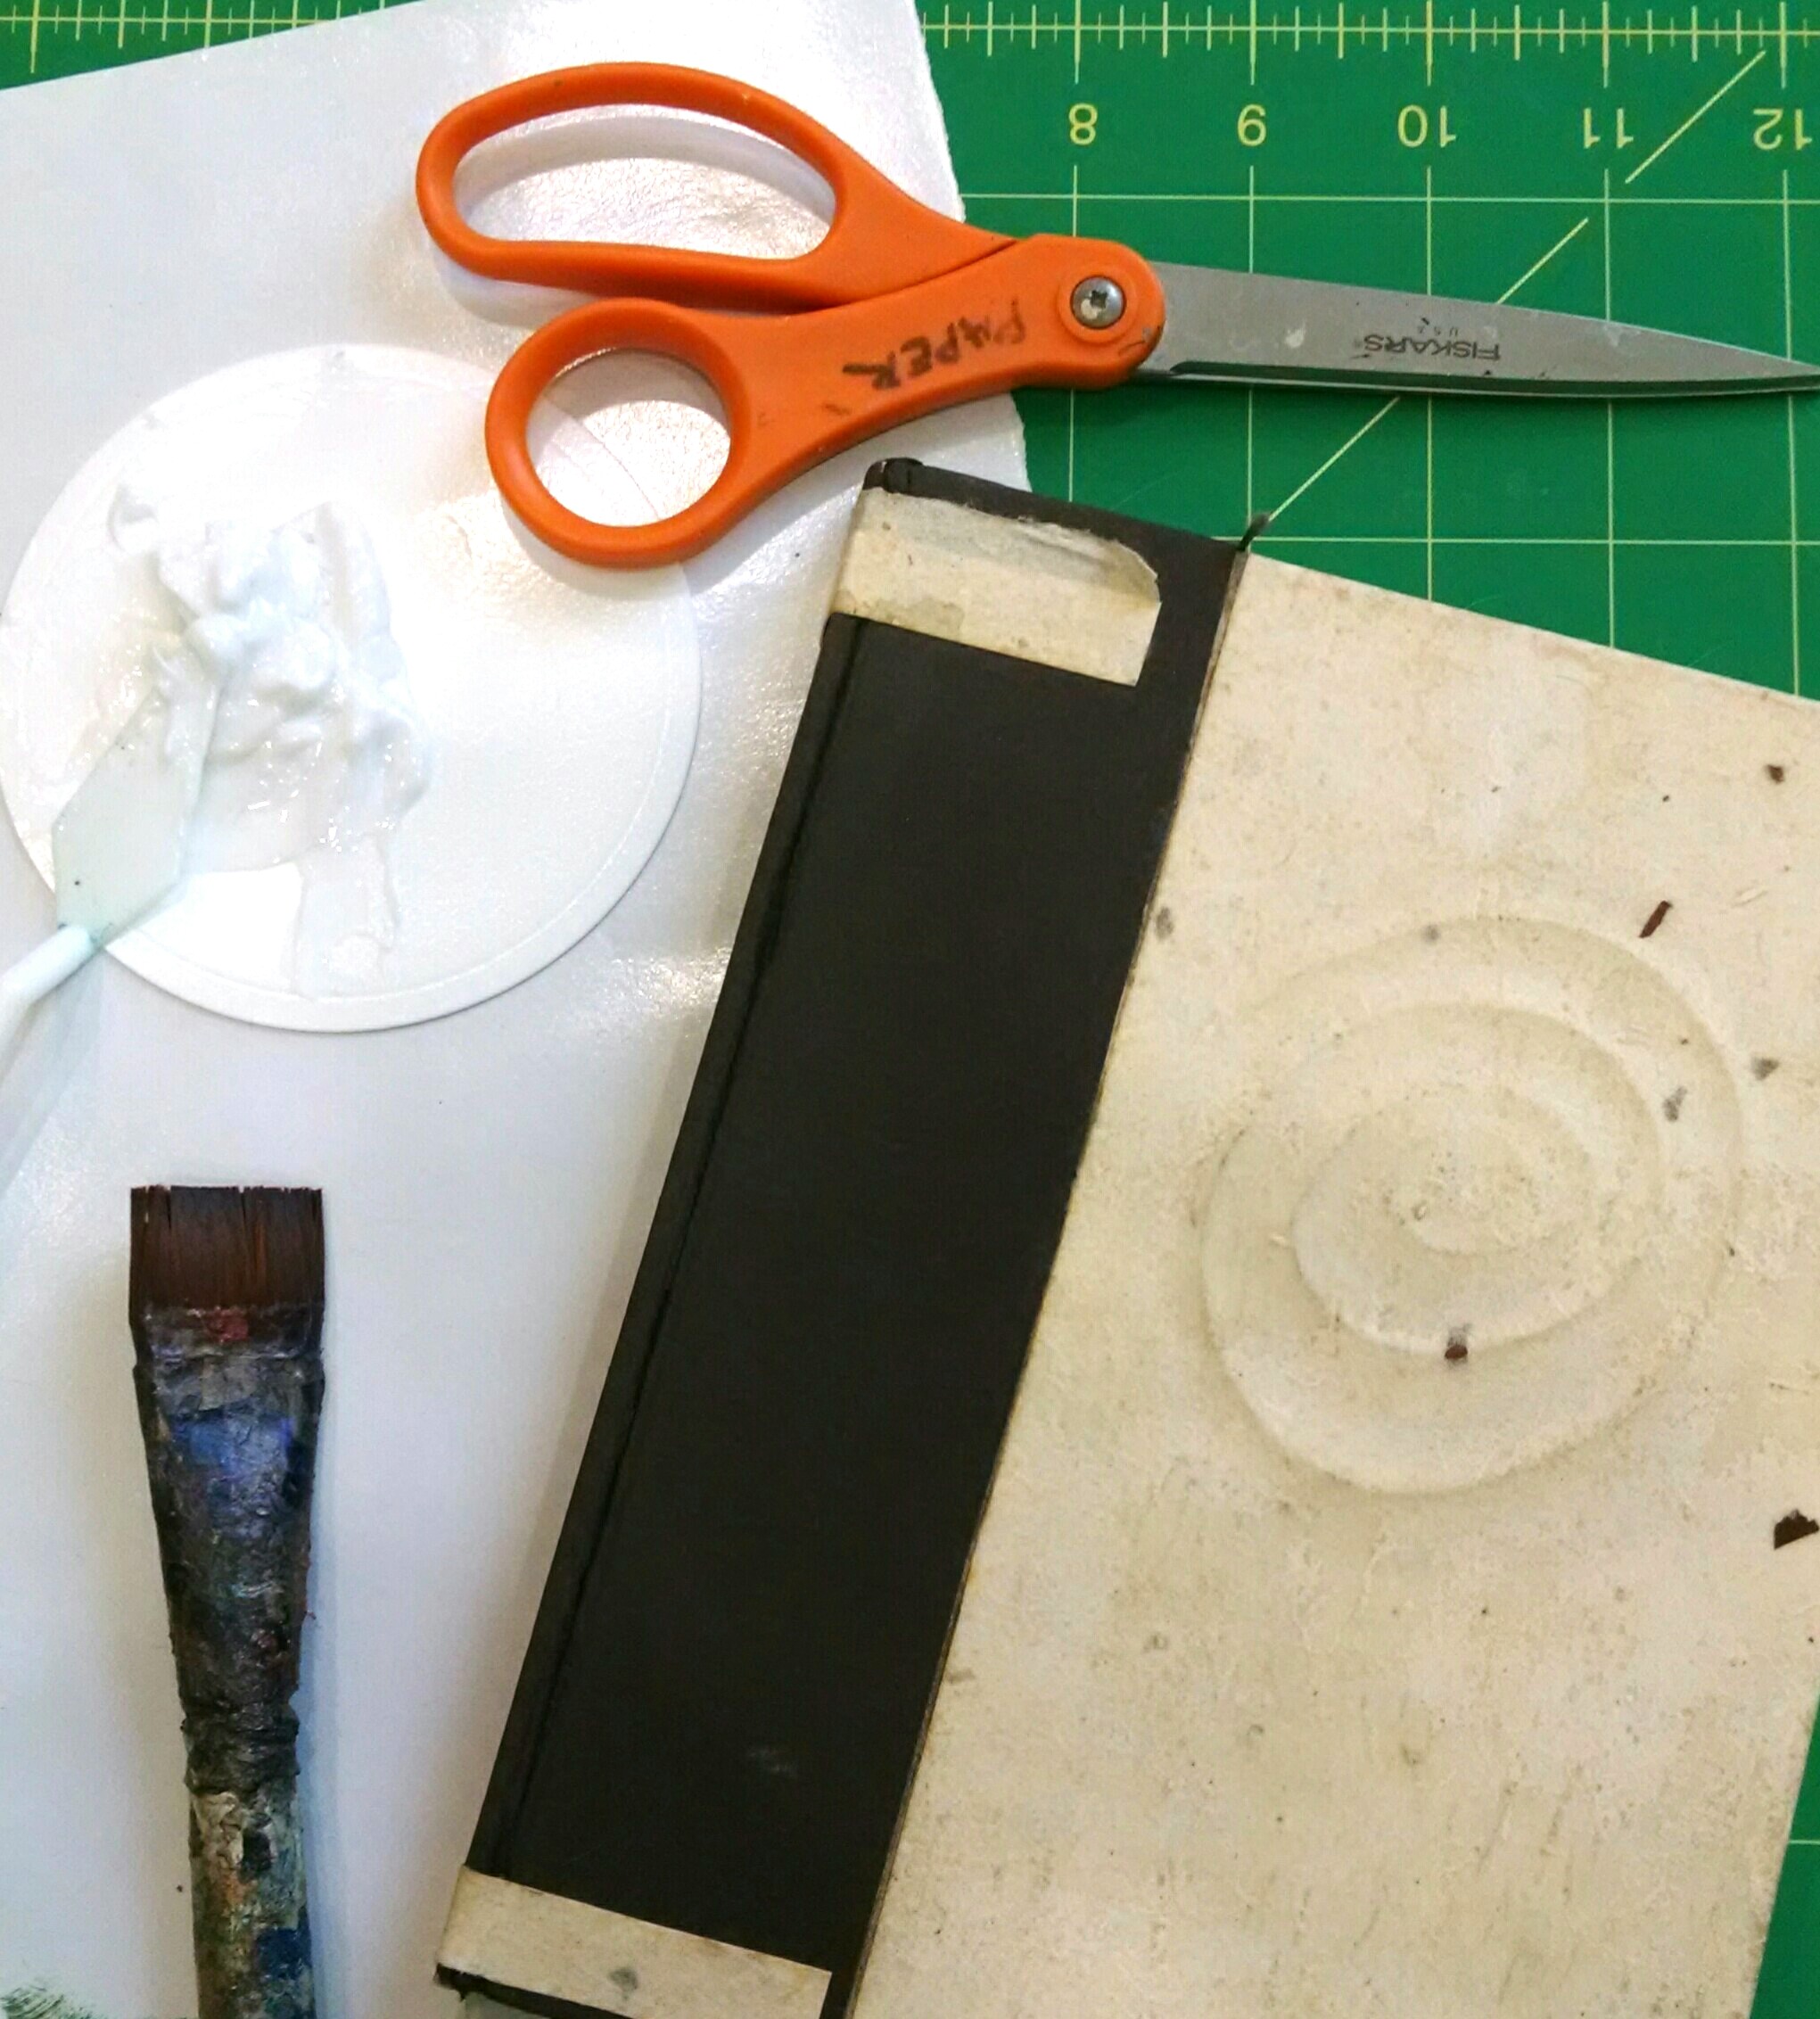
Materials needed: Golden Soft Gel Matte, old paint brush, a journal, scissors, variety of collage papers snd fabrics. I like to use Matte Gel because it keeps the character of the paper and fabric and it's not sticky like the Gloss version.
Step 1) Brush one layer of Golden Soft Gel Matte (GSGM) over the whole cover to seal and let dry to the touch about 5-10 minutes.
Step 2) Choose just a couple of the fabrics and papers you might like to use as a base layer and start auditioning them to find an interesting arrangement. In this case I am using an informal grid to organize the design. Cut your choices to size. In the photo I used a piece large enough to wrap around the spine of the journal to reinforce it since the journal will be opened and closed often. Cut paper so that it will also wrap around to the inside of the covers for a more finished look. Brush a generous amount of GSGM on the journal cover and paper for good adhesison. Burnish by hand for good contact.
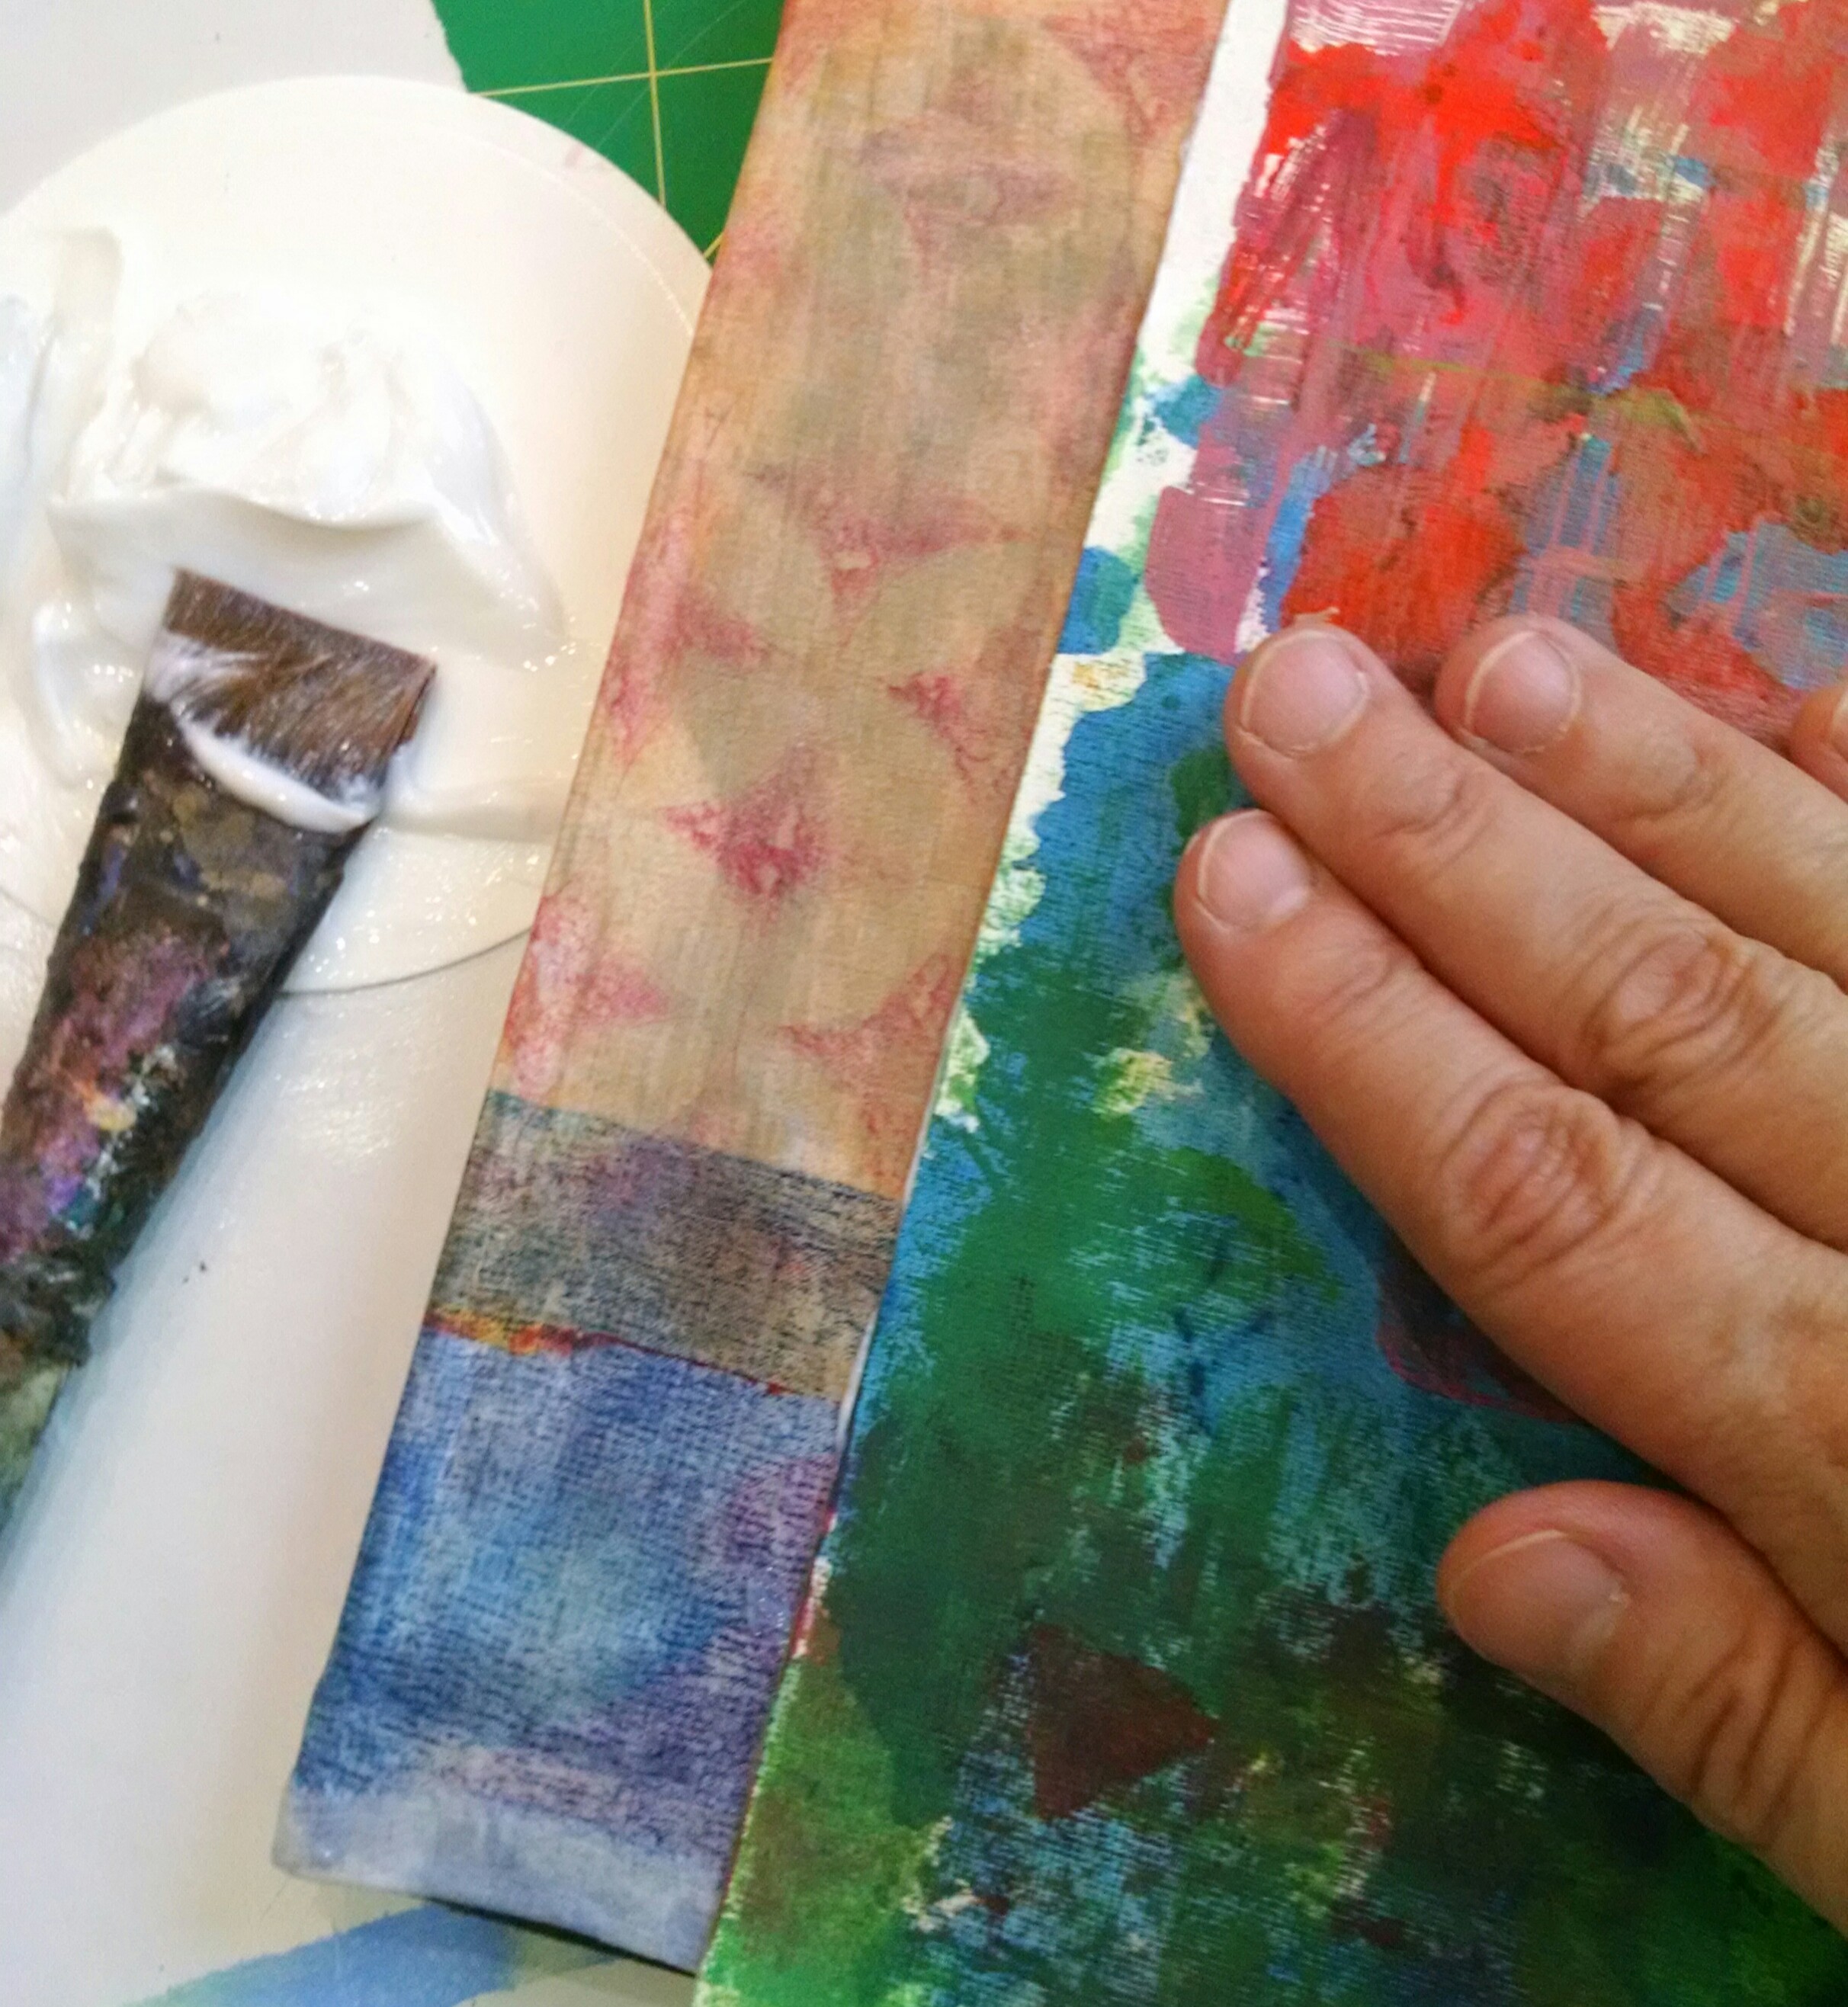
©Christine Sauer, covering repurposed journal with monoprinted fabric and paper
3) Continue layering with smaller pieces of monoprinted paper and fabric until the design is satisfying. In this case elements such as the bubble wrap and stenciled prints were added for contrast. The collage continued inside the covers as well.

©Christine Sauer, collaged front and back journal cover using monoprinted paper and fabric.
4) Finished book below. Last step is to use a generous coating or two of GSGM on top of the collage. This will protect the paper a bit and provide a good barrier surface if you want to add a bit of paint. If you are interested in learning more about creating collage using monoprints join me for the "Collage Explorations" Workshop on June 16 and 17, 2017, at David Art Center, Metairie, LA

©Christine Sauer Finished journal cover ready to go or additonal layers of text, paint or stencils can be added. STUDIO TIP: Use acrylic paints with a matte finish to avoid a sticky surface.