Use this format to expand your painting process

I love this multi panel format! It’s great for pushing painting ideas around as well as expanding your process. Working this way is cost and time efficient too as you are working on many small scale paintings all on one sheet of paper. Starting with self imposed limitations such as timed exercises, choosing limited materials or color can boost your creative explorations. The examples below were from a recent painting workshop I taught on color.

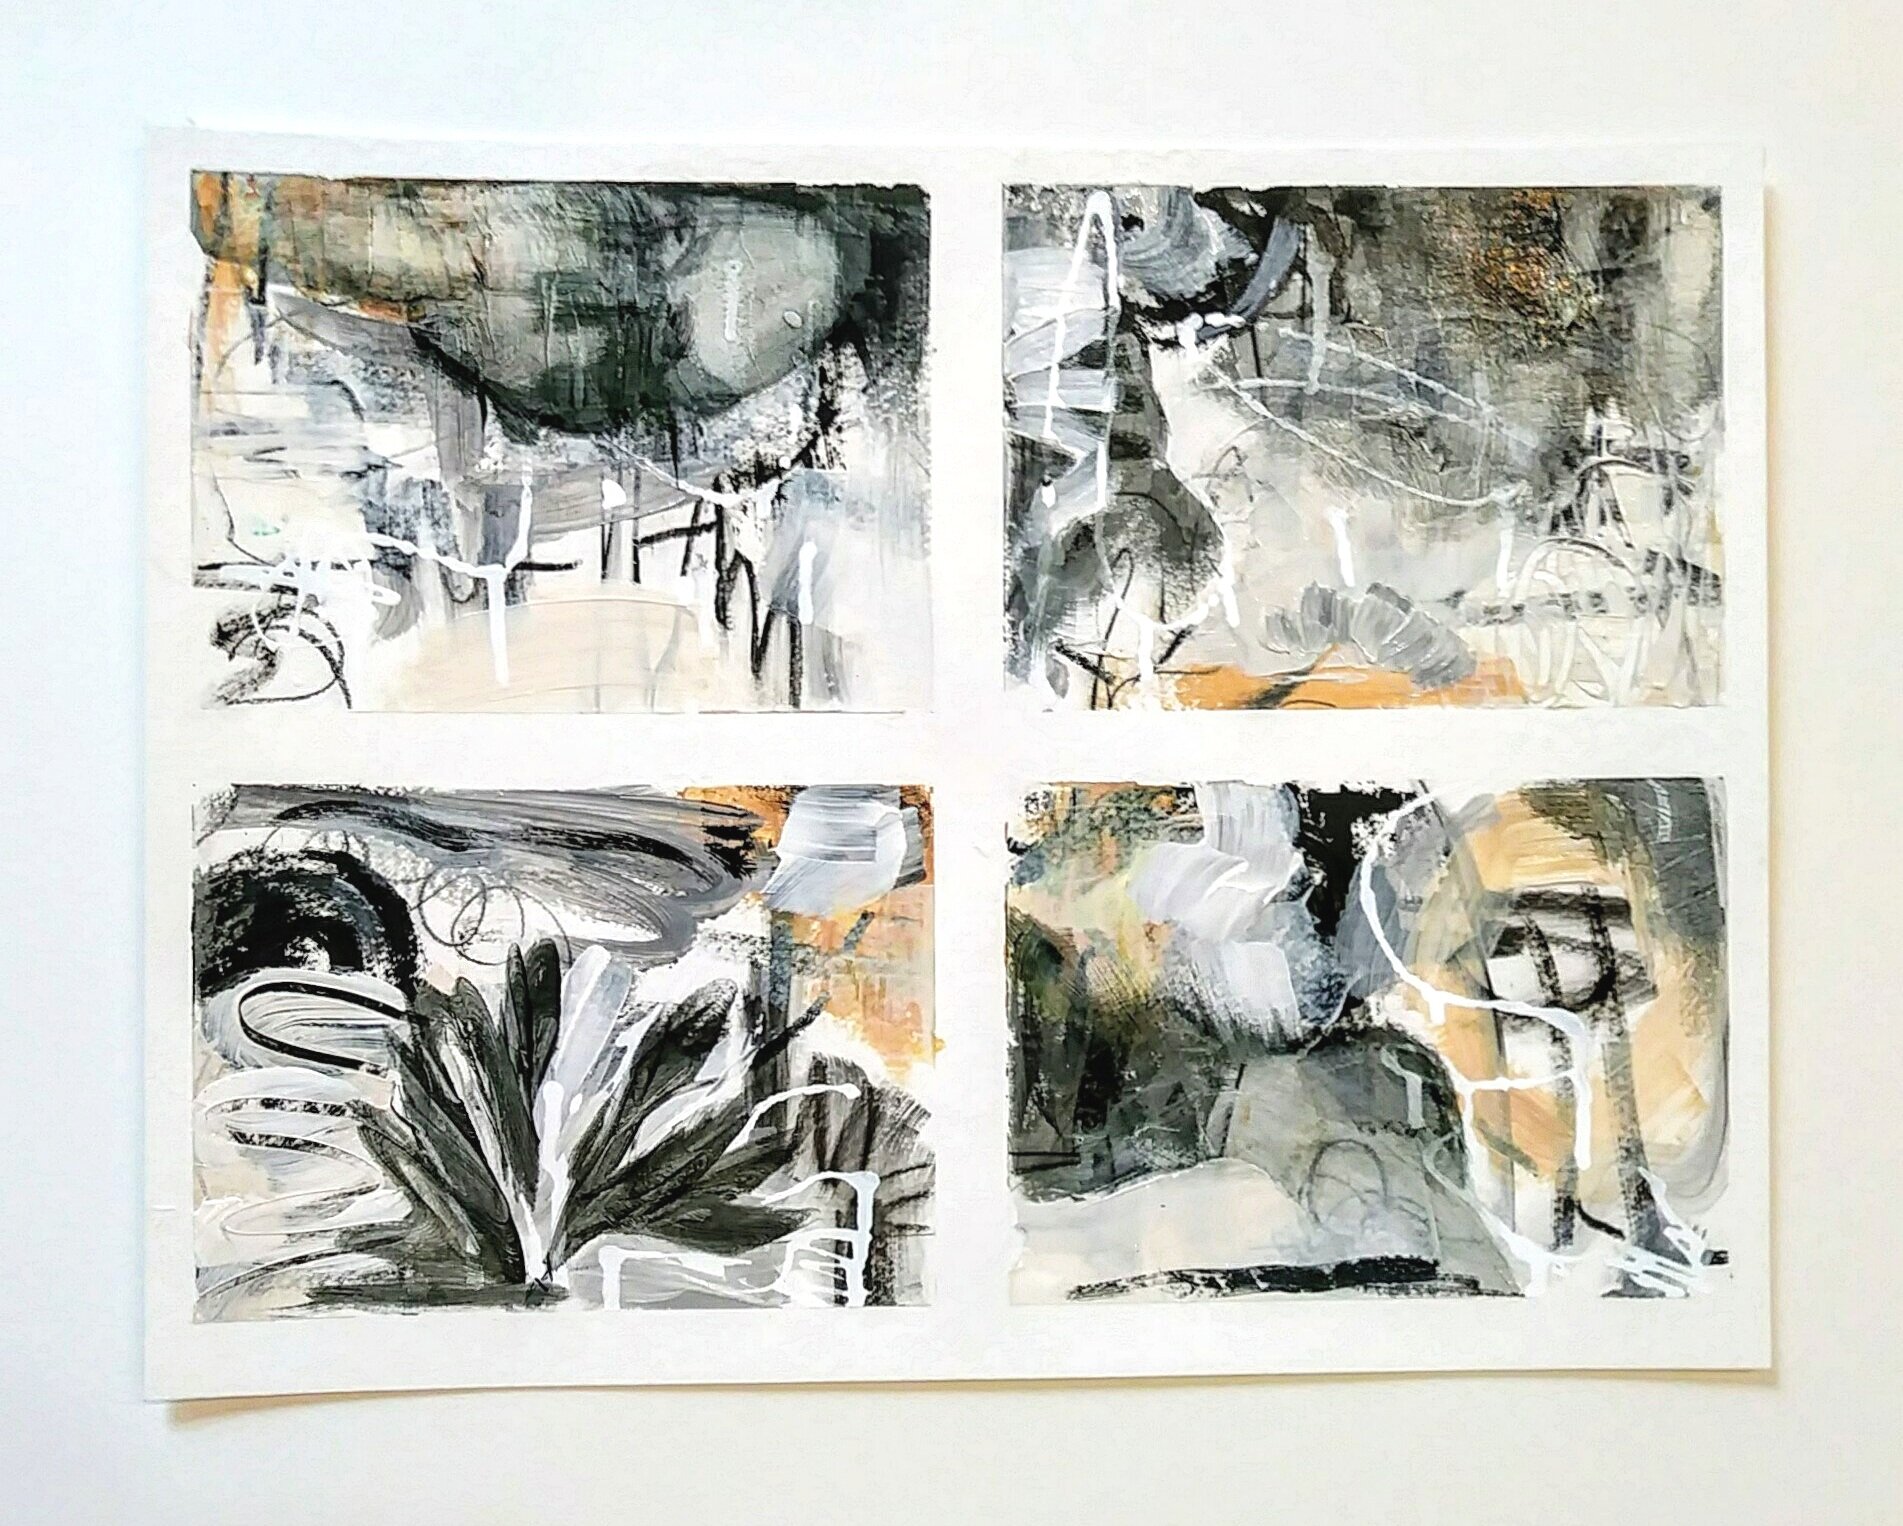
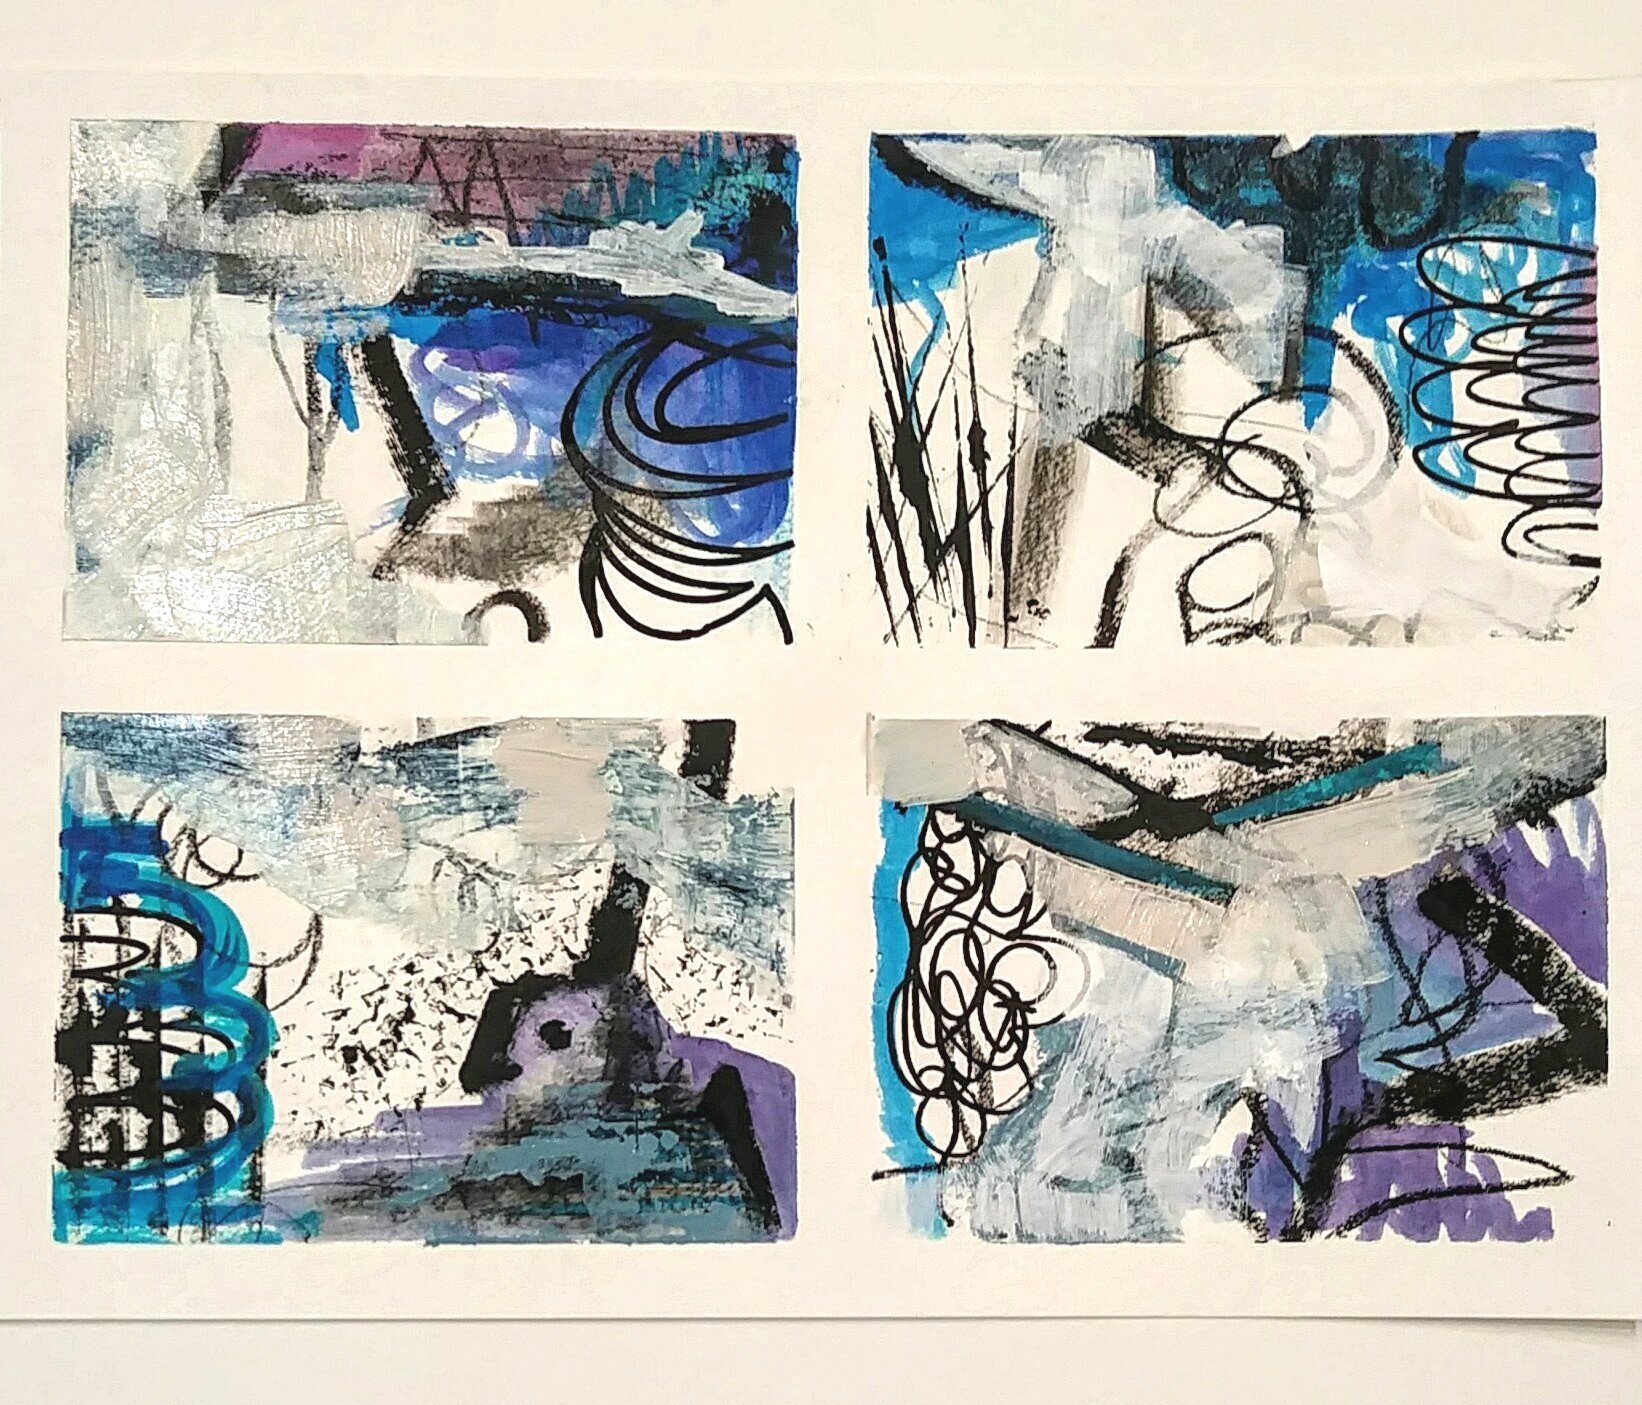
Christine Sauer- Four sections of a larger grid of 5x7” paintings exploring a limited palette.

Christine Sauer- Four sections of a larger grid of 5x7” paintings exploring a limited palette.

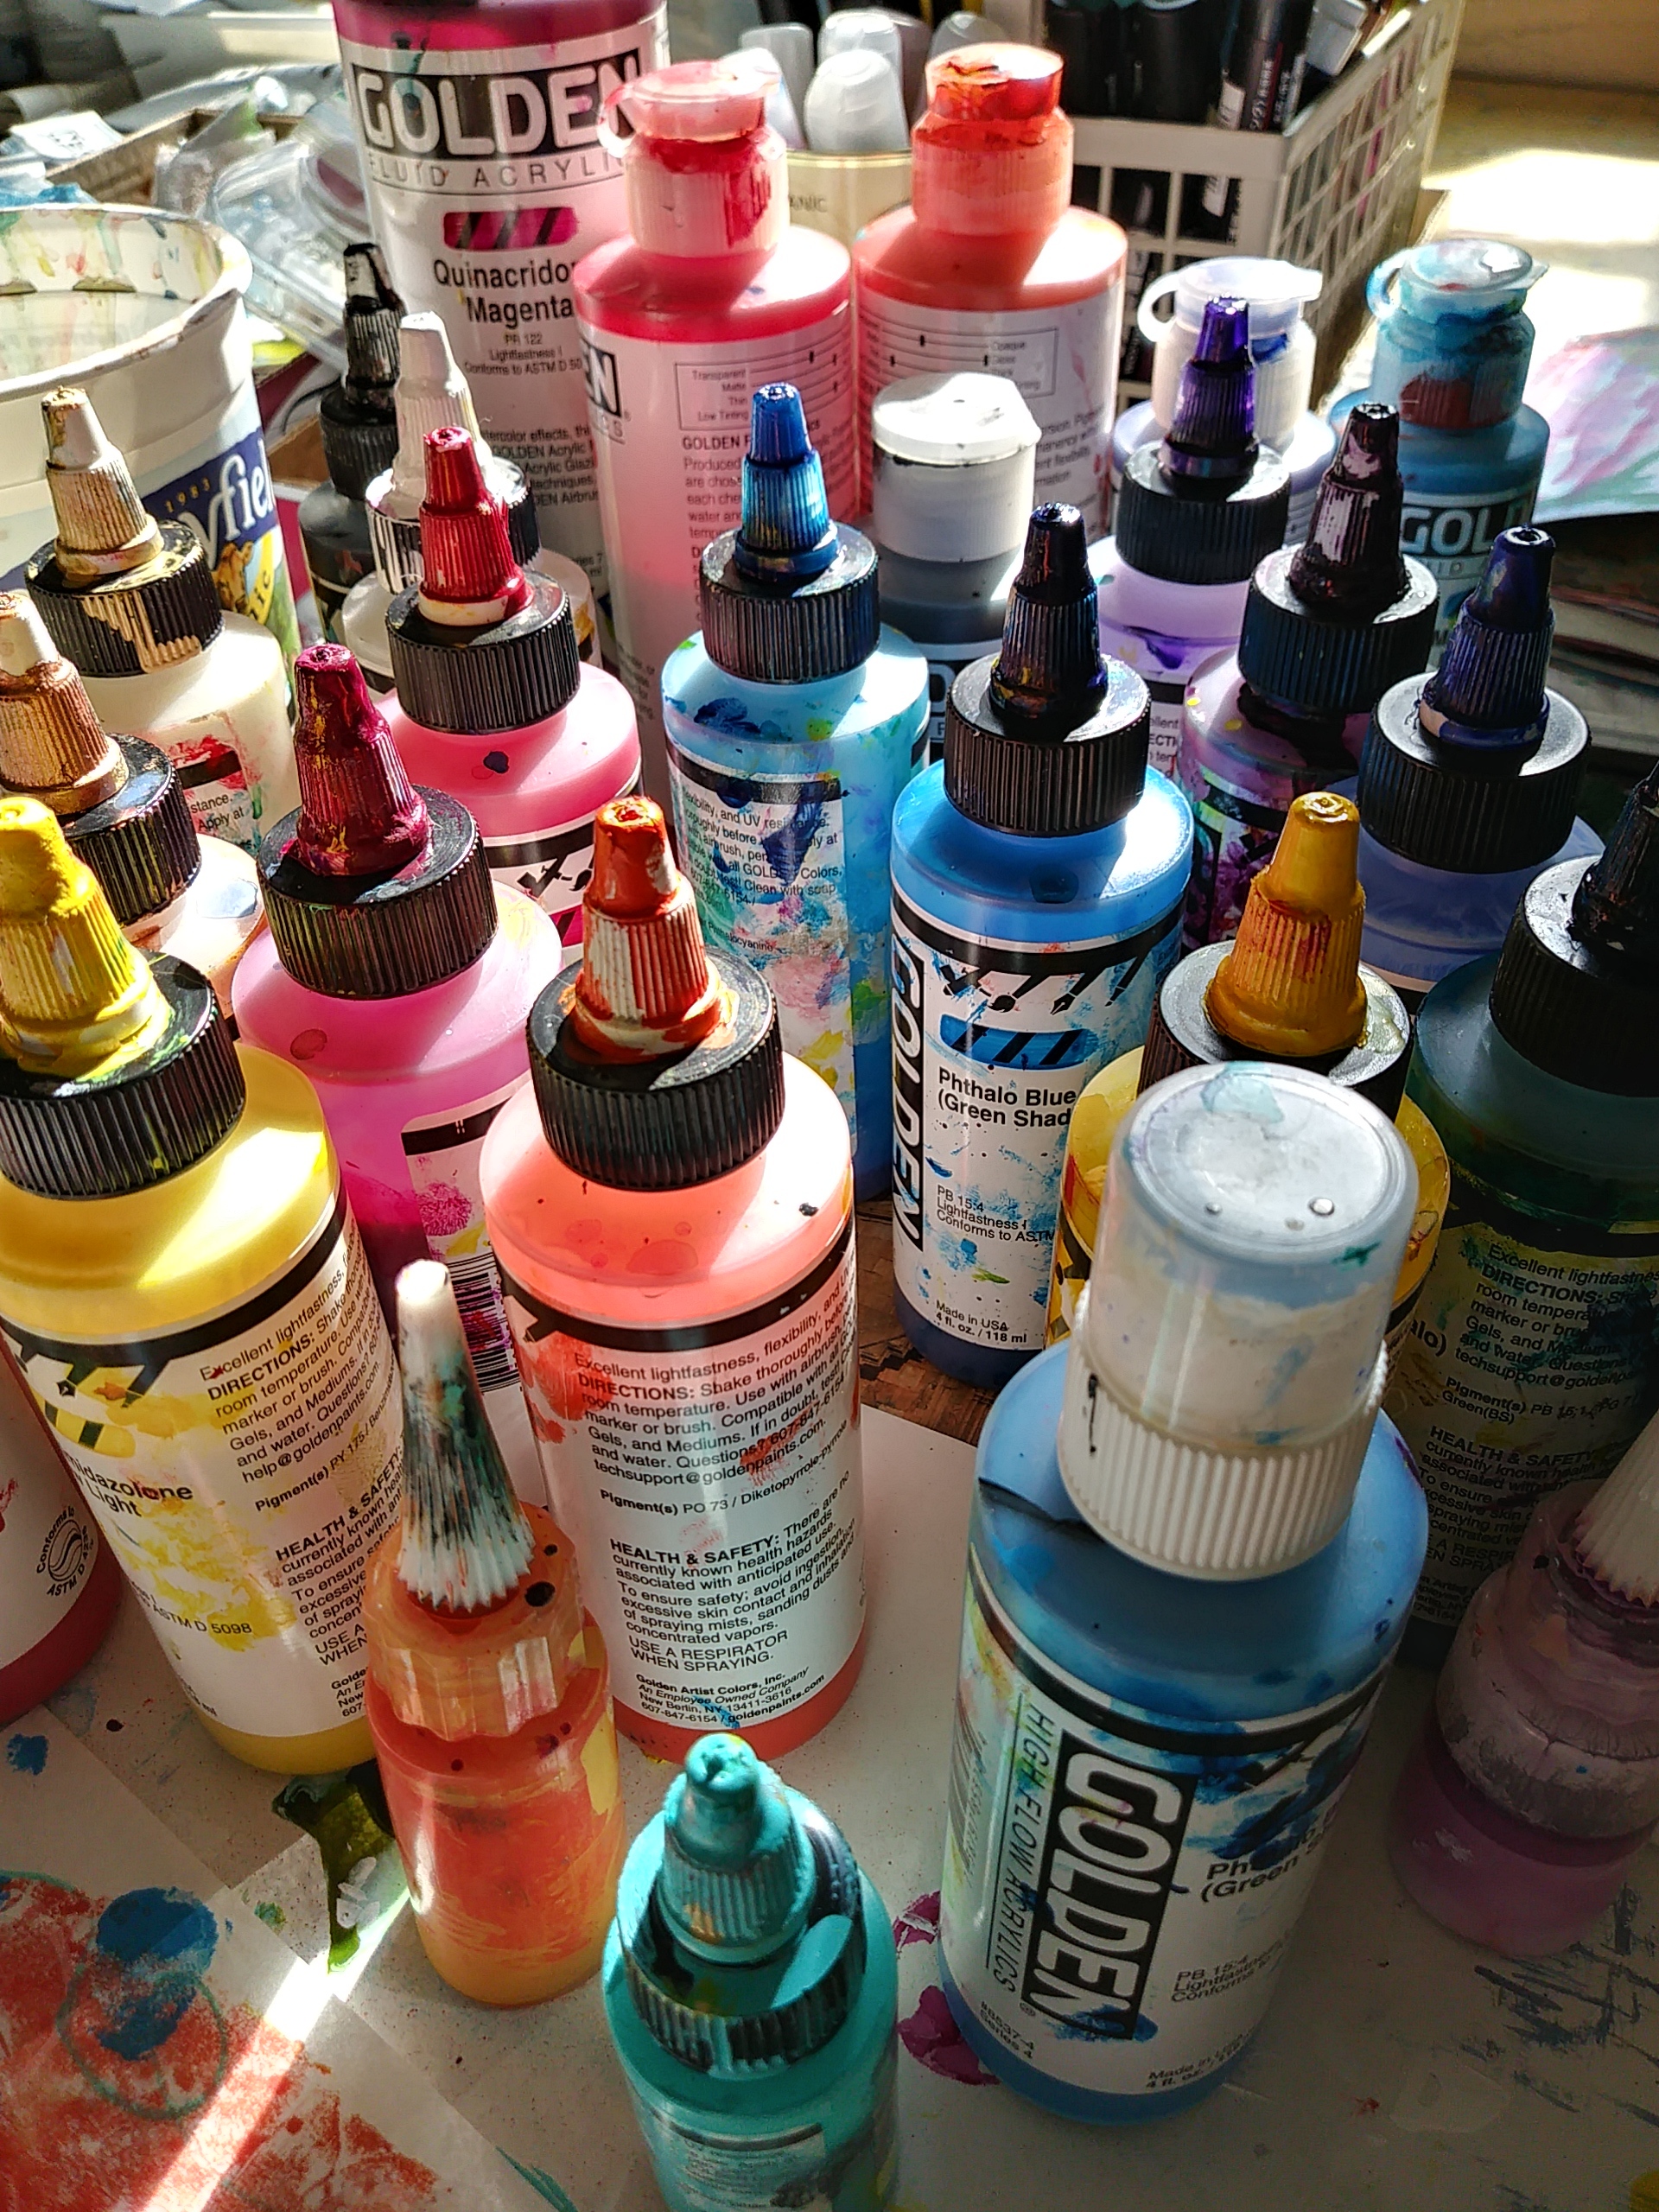
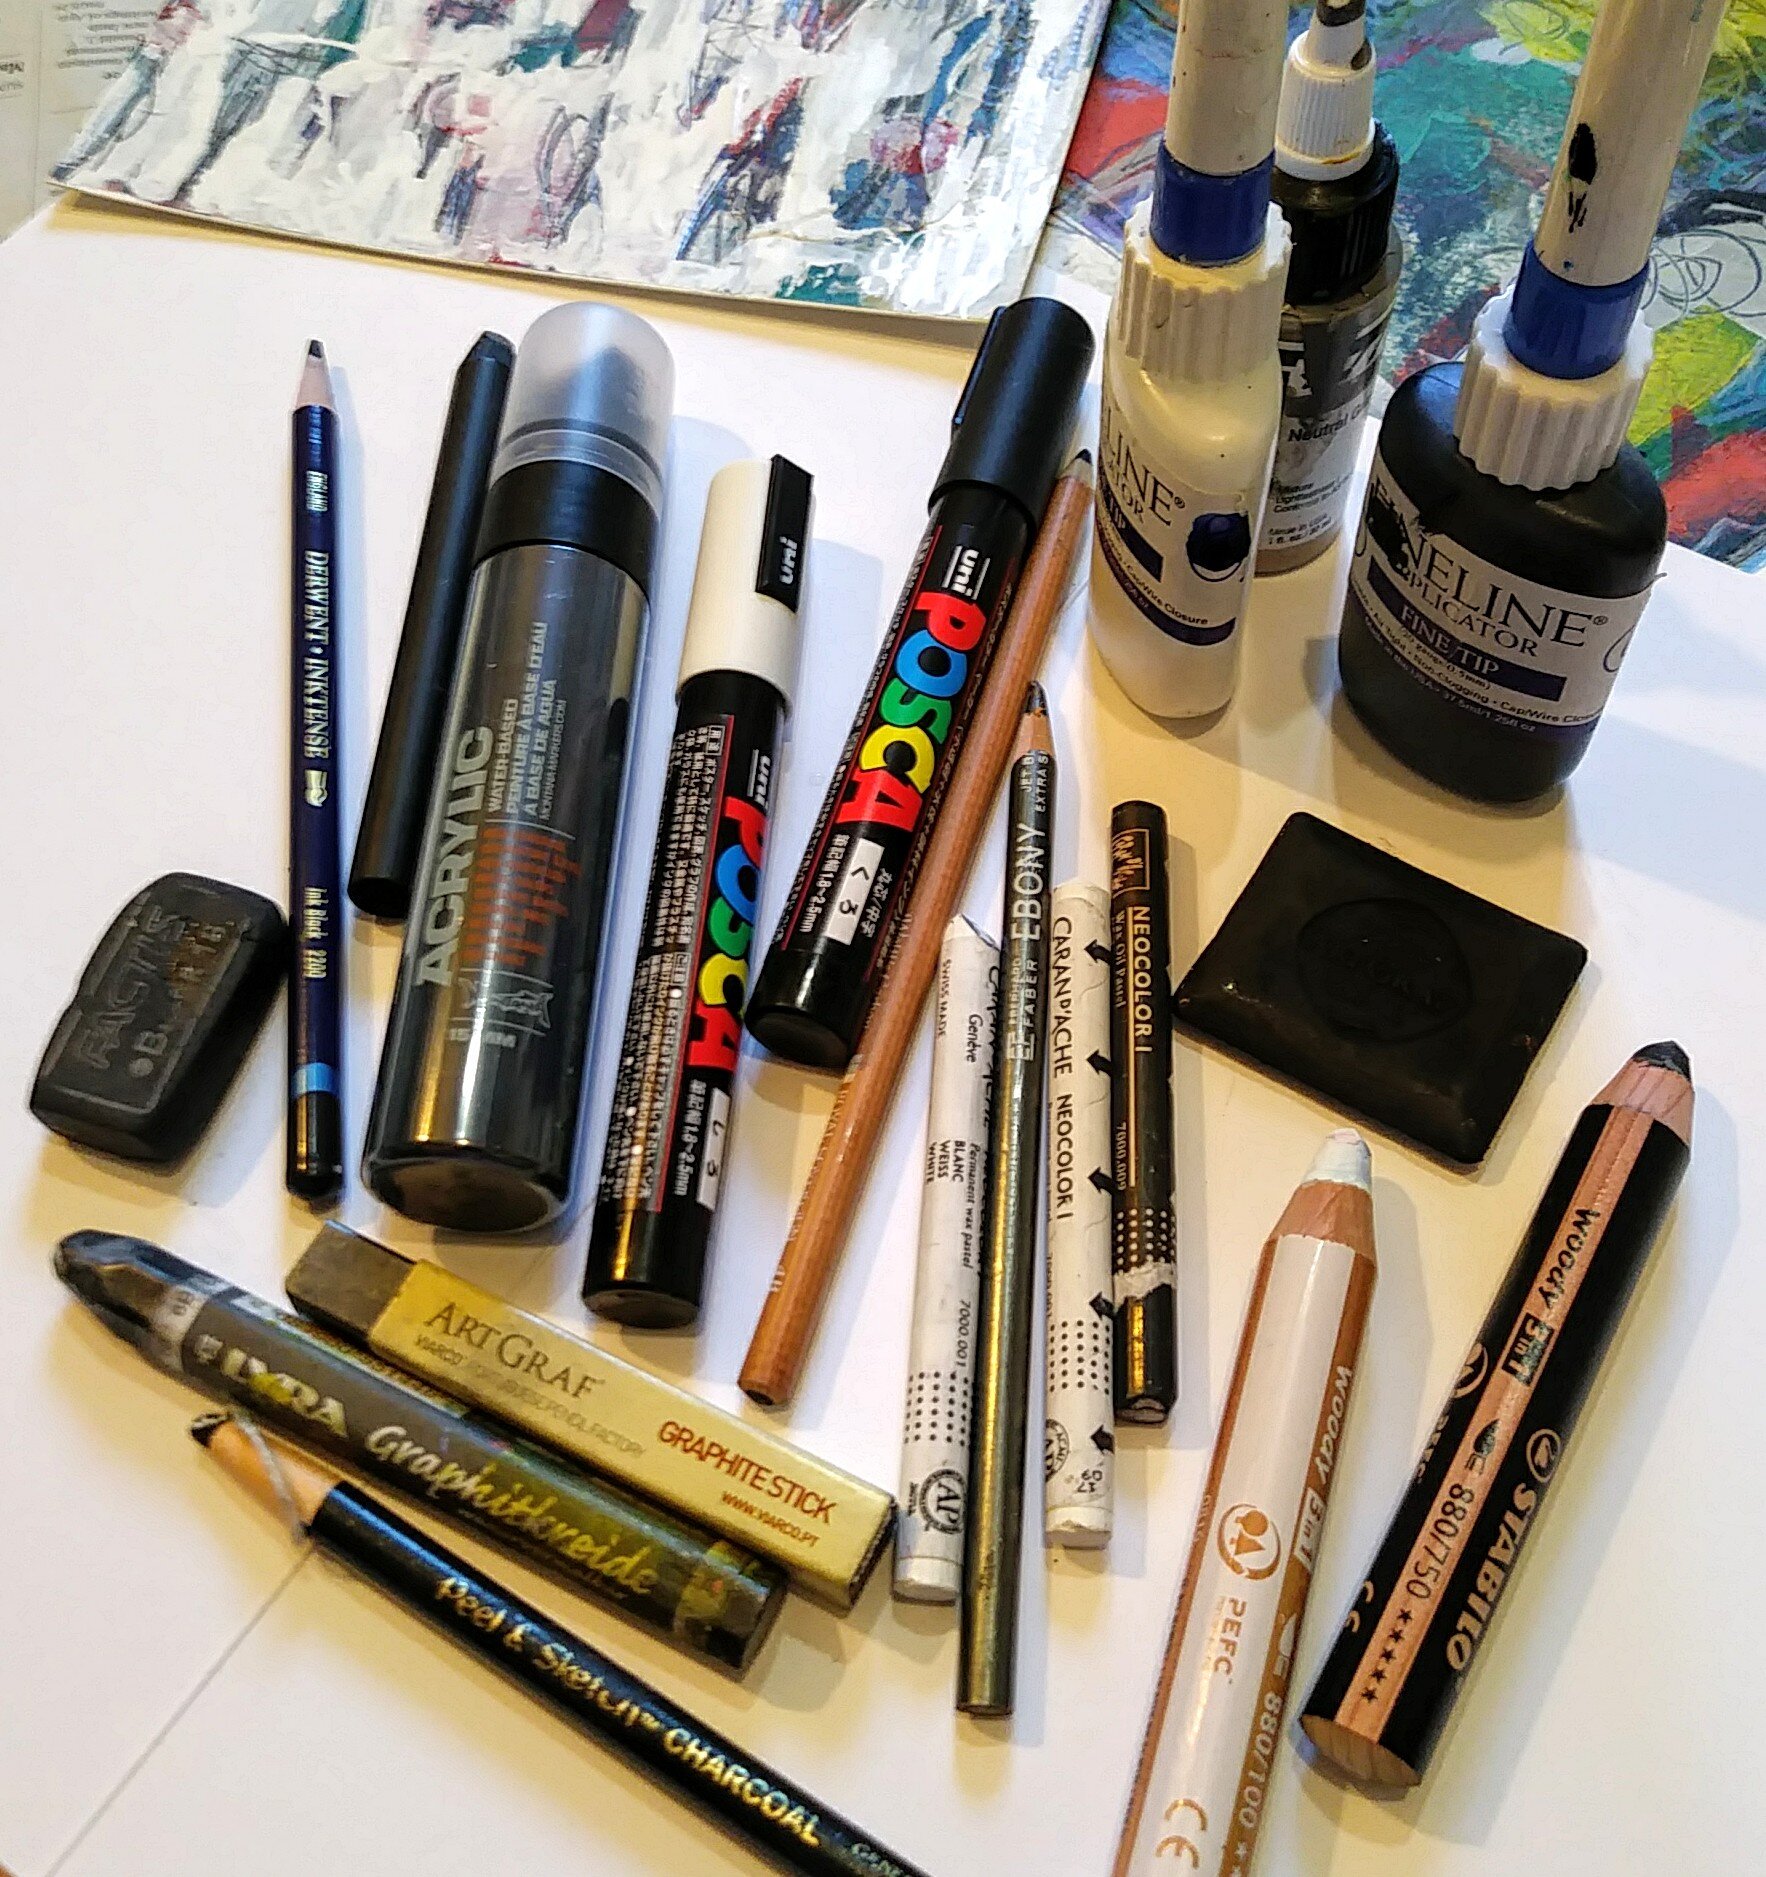
An array of favorite drawing media used to get the process started.

An array of favorite drawing media used to get the process started.

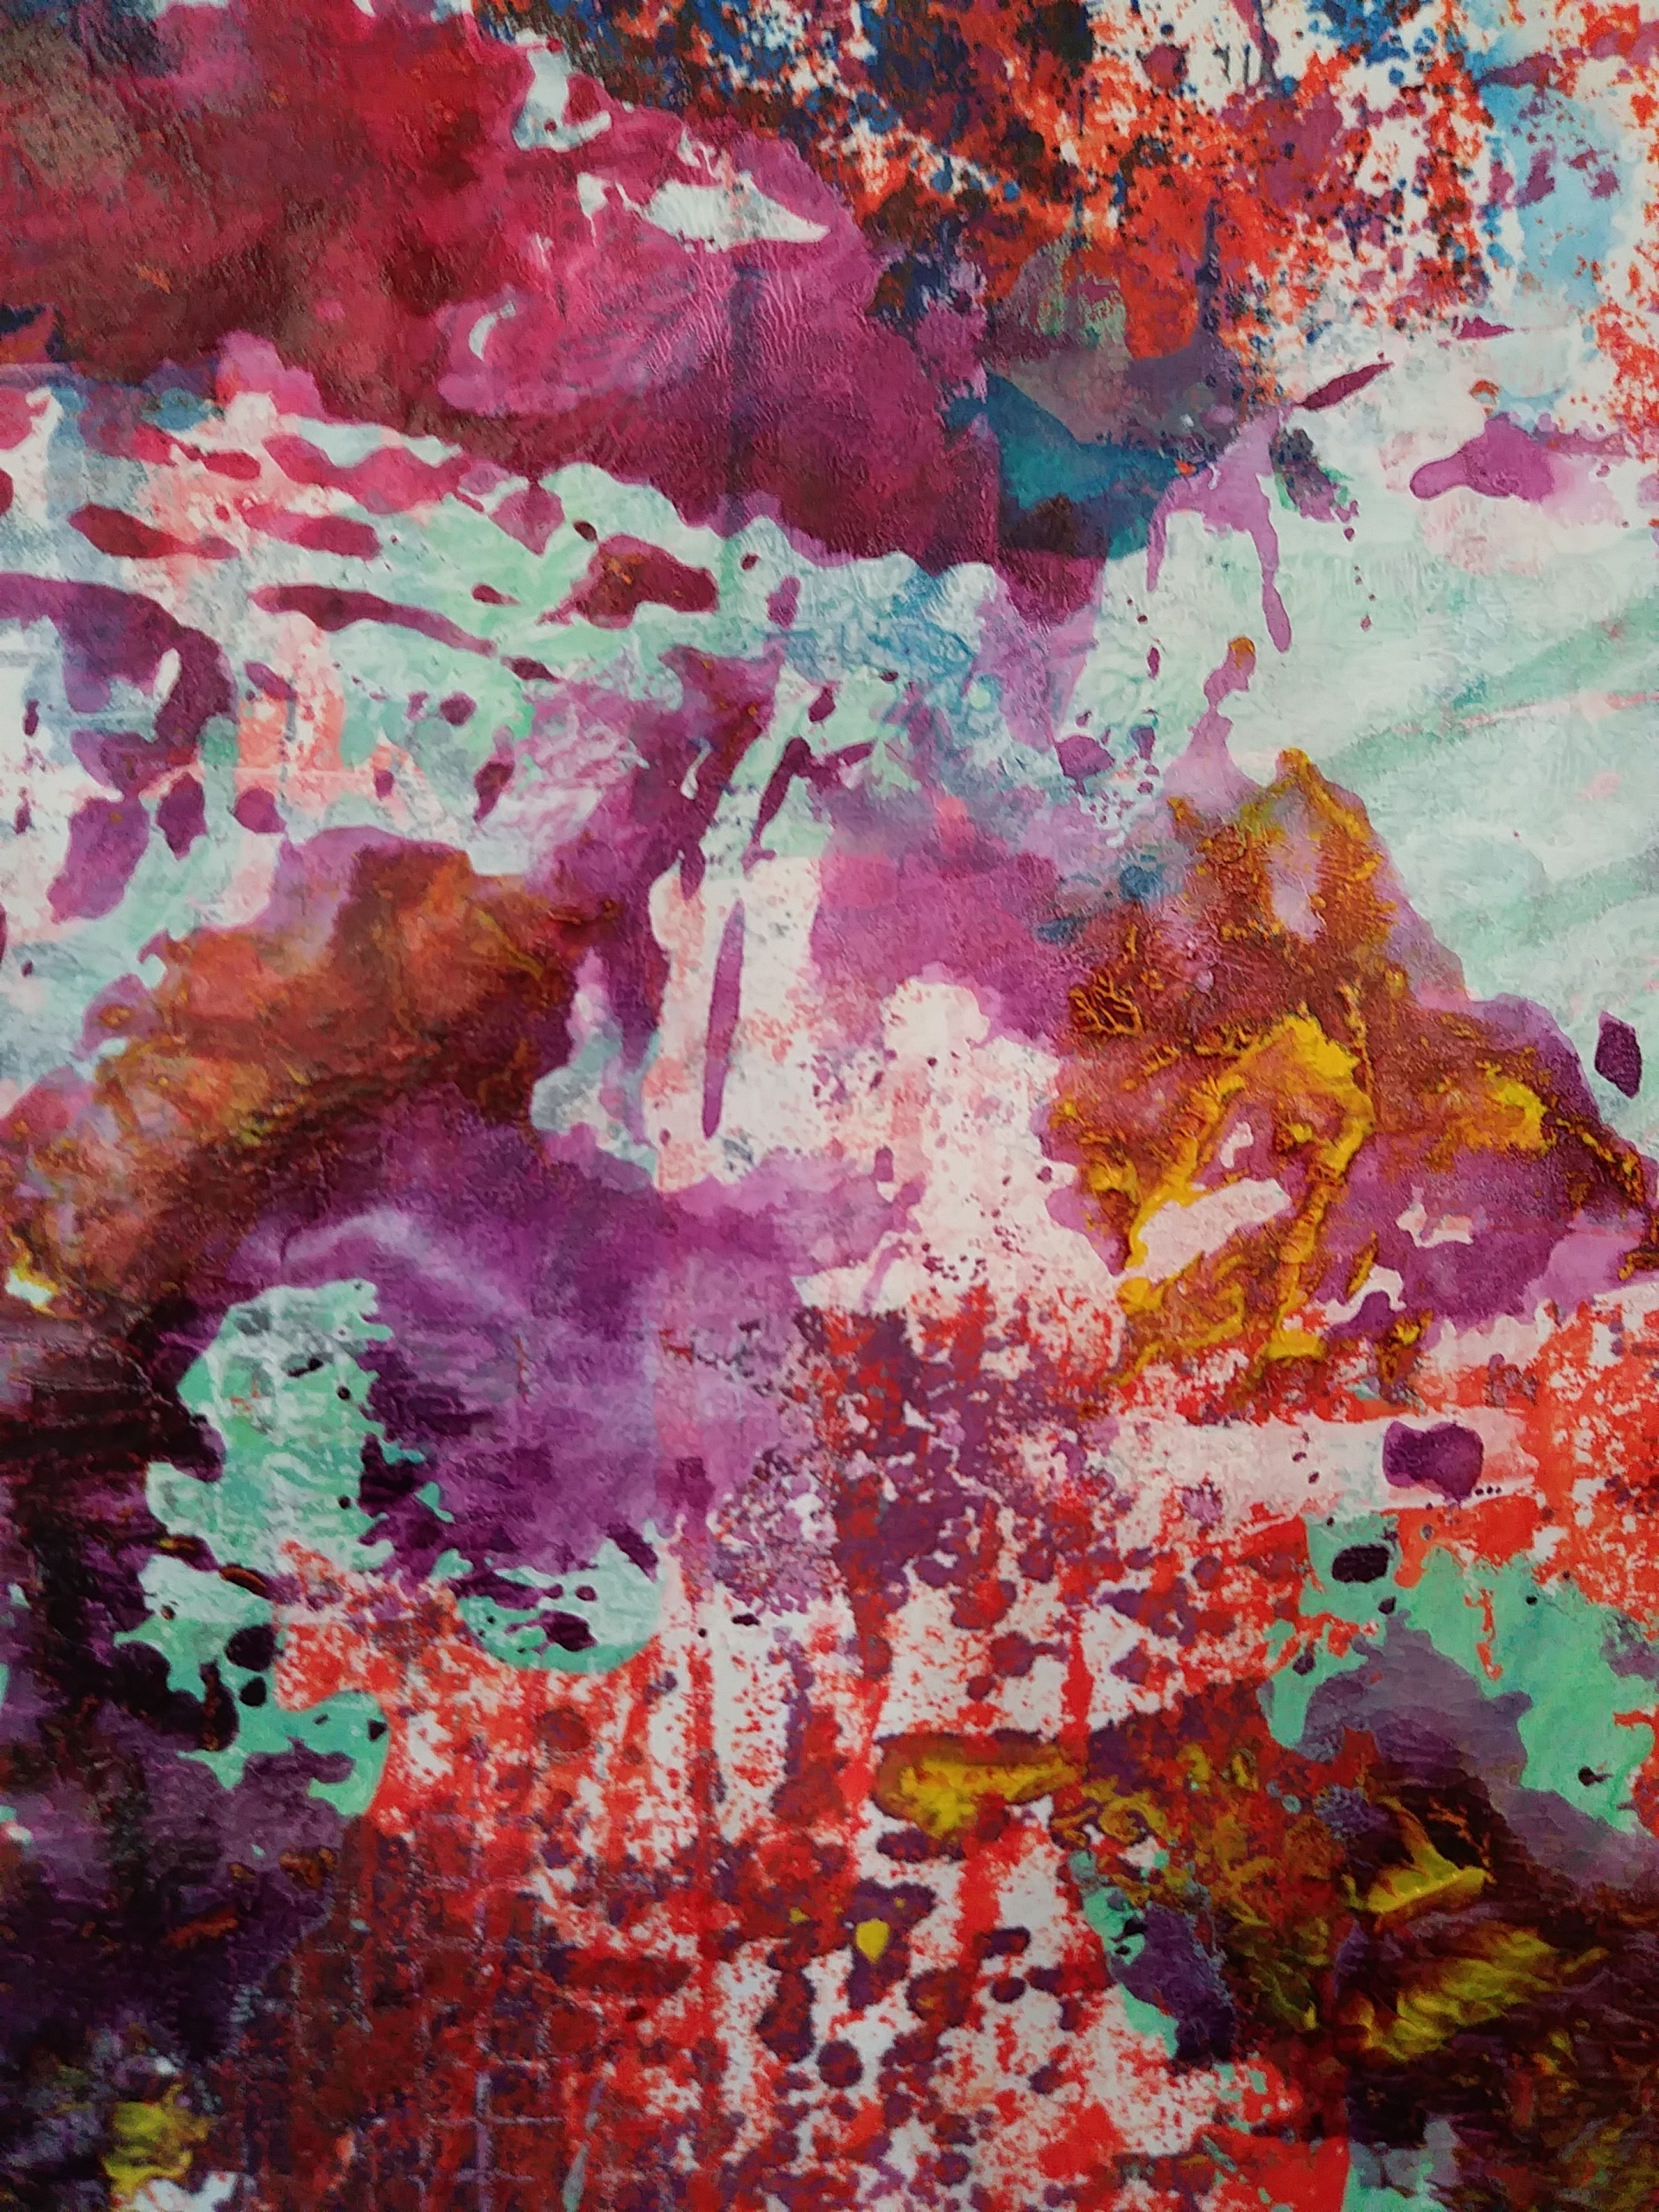
Christine Sauer, Workshop example demonstrating the use of chromatic white.

Christine Sauer, Workshop example demonstrating the use of chromatic white.

The process for the paintings above started with mark making as the first layer using a variety of black and white drawing media. Color was added using GOLDEN High Flow and Fluid Acrylics. The 19x25” 185lb Canson Montval Acrylic was taped off with 1” White Pro Artist Tape yielding nine, 5x7” panels. Below is an example of how the panels can be cut apart. Then the artwork can be mounted to cradled panels for display without needing to be shown under glass.

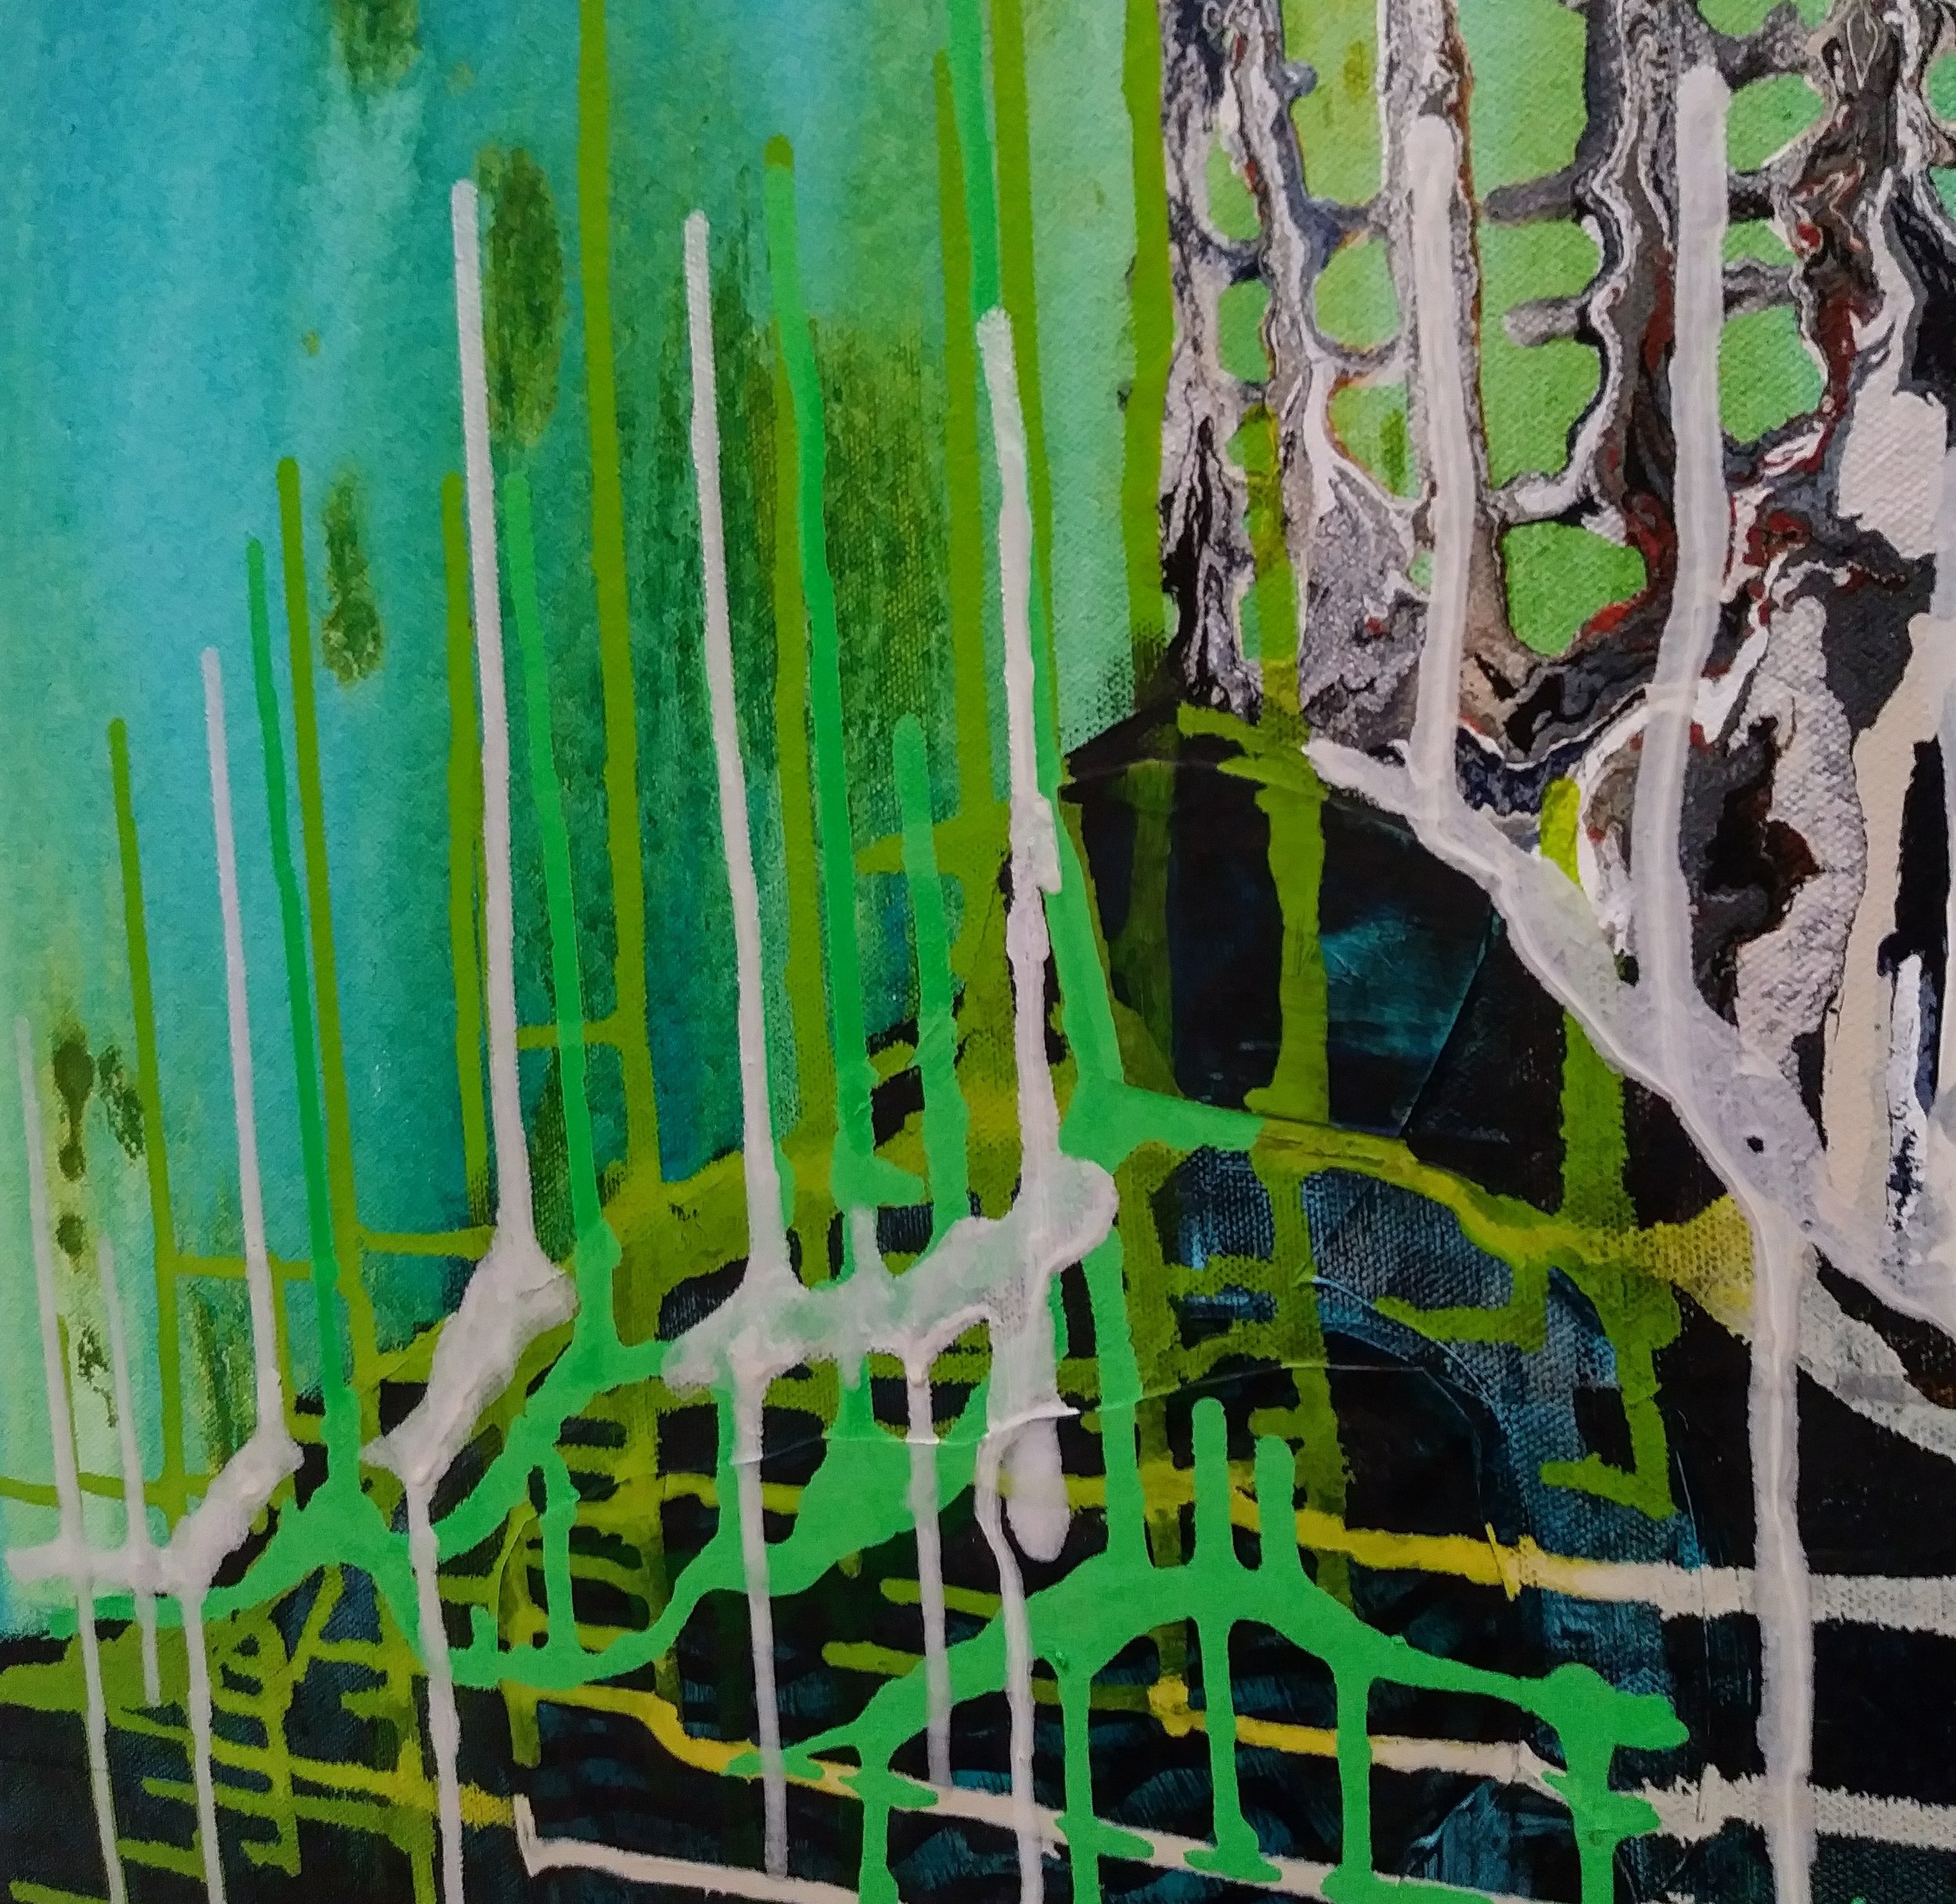
Christine Sauer, 5x7” painting on paper mounted to cradled panel.
Christine Sauer, 5x7” painting on paper mounted to cradled panel.

Art Stash Giveaway for Christine Sauer Studio Newsletter Subscribers

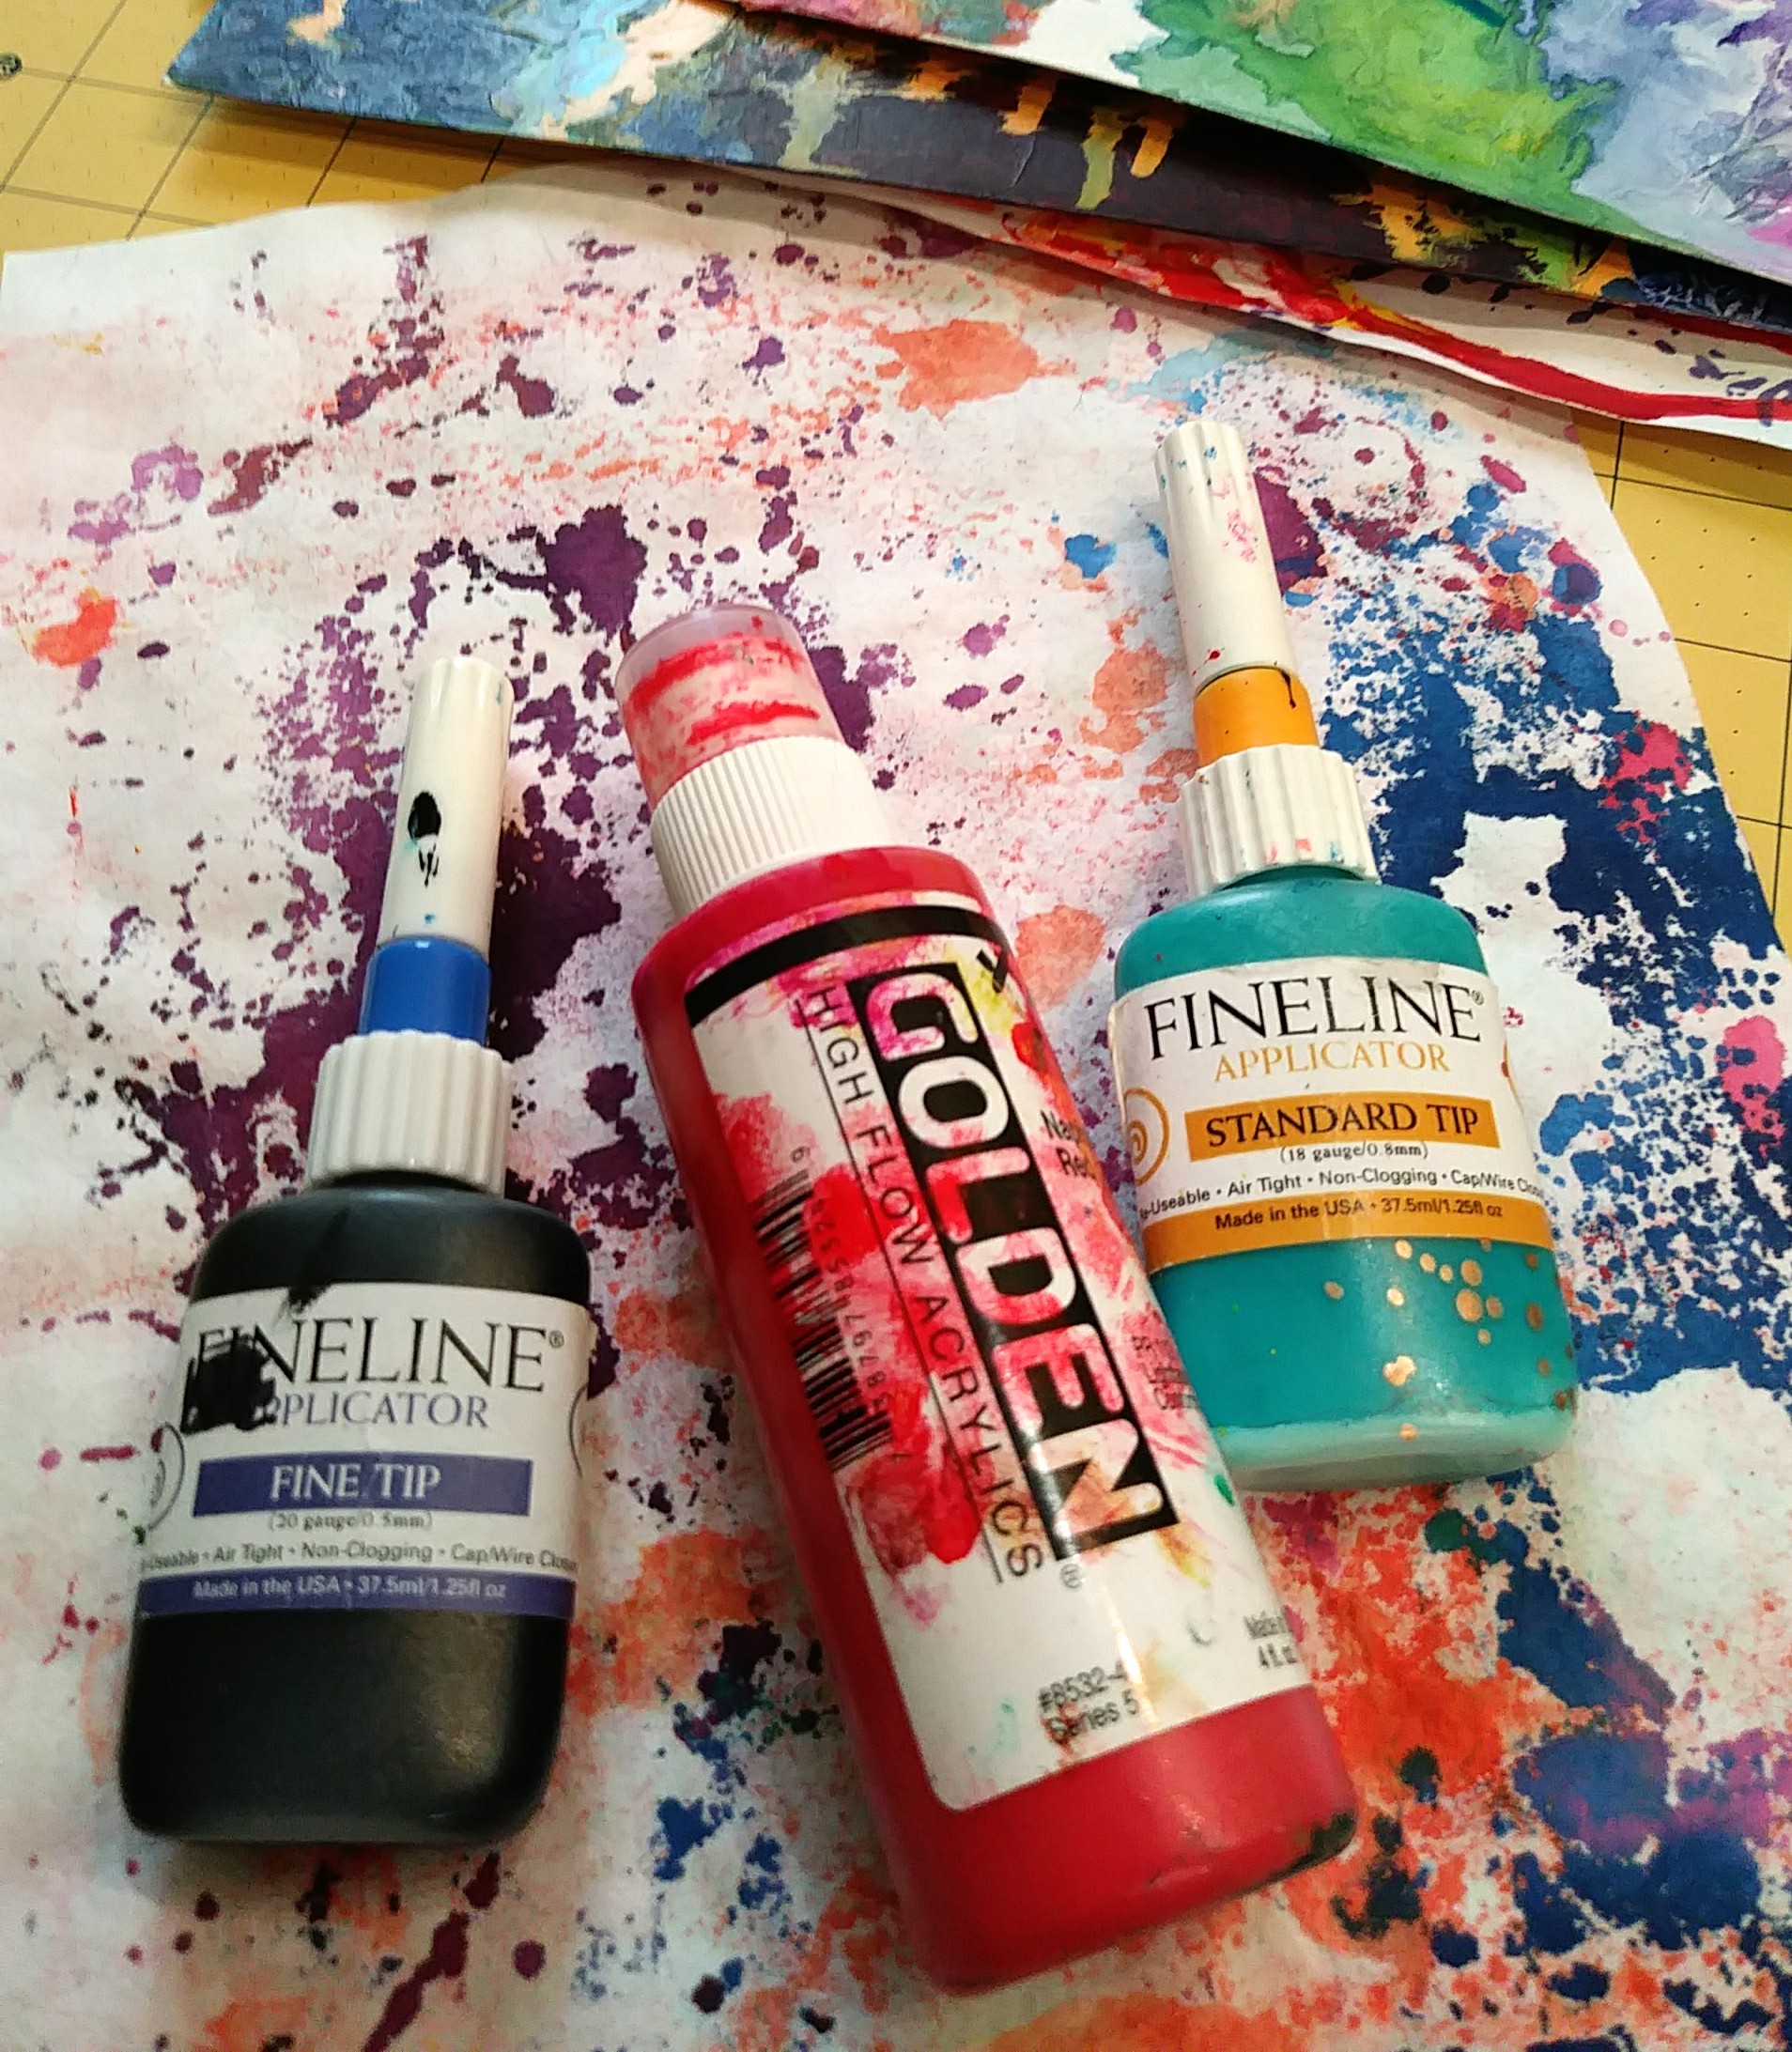
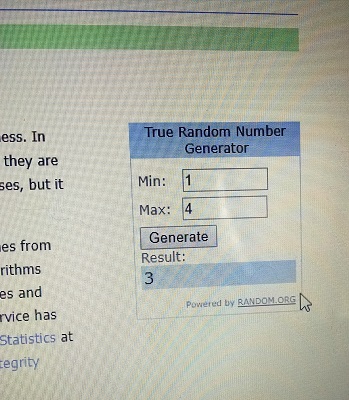
As a way to express my gratitude for all of you who have followed my newsletter,  I'm offering a little lagniappe, a chance to win this Art Stash Giveaway (US only).  Shipping is free too.  Just leave a comment letting me know you are interested on this blog post by Sunday 4/8/2018, 6 PM CST.  Each entry will receive a number in the order of comment posted. If you are not on my email list, subscribe in the sidebar for a chance to win.  Follow me on Instagram, @christinesauerstudio, leave a comment on a post and you'll get an extra chance.   A random number generator will be used to pick the winner.  The winner will be contacted for a mailing address.  I'll announce the winner on this blog on Monday, April 9 and in the May Newsletter. Good luck!!

Art Stash Giveaway!   A variety of hand painted collage papers will be thrown in the mix too.

Art Stash Giveaway!   A variety of hand painted collage papers will be thrown in the mix too.

4/09/18  Woohoo!  The winner of the "Art Stash Giveaway"  is #3- Alicia Harvey.  Congrats!  I'll send these lovelies off in the next day or so.

Giveaway Winner

"Night Flora"


Several months ago I started a new group of abstract floral paintings.  After posting a couple of my first Flora explorations on Instagram (@christinesauerstudio) several months ago, Mary Beth Shaw from StencilGirl contacted me for a post.  I’m so appreciative of being featured there!  I really enjoy working with the very creative designs from Stencil Girl stencils.  Here’s a bit of the process.

The lush and abundant flora of New Orleans inspires me.  I love photographing my garden and the floral streetscapes in my neighborhood, even at night when colors and forms take on a mysterious and luminous quality.  Photos are used for inspiration though I work primarily from imagination and through exploration of paint and other materials.  Part of the process when starting new work is to explore a variety of approaches on a small scale.  Creating rich, varied and textured surfaces is a big part of what I love to do.  GOLDEN’s Glass Bead Gel is one of my favorite mediums and I keep finding new ways to incorporate it into my work.

©Christine Sauer, “Night Flora” in process, 10x8”, acrylic on canvas board

©Christine Sauer, “Night Flora” in process, 10x8”, acrylic on canvas board

For this exploration, a repurposed, experimental canvas board that already had paint and texture on it was used.  A rigid surface such as a panel or cradled panel would also work well.  The process started by pouring a variety GOLDEN High Flow acrylics in a freeform manner onto the surface.  I spritzed the paint lightly with H2O to help the colors merge and flow into each other.

©Christine Sauer,  10x8" Repurposed Canvas Board

©Christine Sauer,  10x8" Repurposed Canvas Board

GOLDEN High Flow colors used for pouring include Anthraquinone Blue, Iridescent Copper, Permanent Violet, and a mix of Green Gold with Hansa Yellow Light.

GOLDEN High Flow colors used for pouring include Anthraquinone Blue, Iridescent Copper, Permanent Violet, and a mix of Green Gold with Hansa Yellow Light.

 1)      Let this dry over night before doing the next stage.  Because the colors merge in unpredictable ways, it‘s always fun to see how the pour has developed overnight!

©Christine Sauer,   GOLDEN Glass Bead Gel applied through stencil

©Christine Sauer,   GOLDEN Glass Bead Gel applied through stencil

2)      The next layer is GOLDEN Glass Bead Gel applied with a palette knife through stencils.  Maria McGuire’s “Ripple” stencil, shown here, and “Floral 2” by Traci Bautista were used in small sections and turned different directions to create an organic, abstract design with a sense of movement.  I love the gritty texture of the Bead Gel as a contrast to the smoother poured paint. Let dry approximately 4 hours or until it has dried clear before adding paint on top of the Bead Gel. TIP:  Carefully lift stencil.  Use a small color shaper to clean up between spaces if needed to keep shapes clean edged.

©Christine Sauer, (above) Wet Glass Bead Gel design (below) Dried Glass Bead Gel.  Fluid Acrylic colors painted on top of dried Glass Bead Gel.

©Christine Sauer, (above) Wet Glass Bead Gel design (below) Dried Glass Bead Gel.  Fluid Acrylic colors painted on top of dried Glass Bead Gel.

3)      All colors were mixed with Iridescent Pearl to create sheer, luminous color and to provide high contrast to colors below. A small Filbert brush was perfect for the job. Sometimes it’s hard to see the dried Bead Gel Shapes.  I used the photo of the wet Bead Gel as a reference. TIP:  Iridescent paint dries quickly.  Spritz your palette with a little H2O periodically while painting.

©Christine Sauer   10x8", acrylic on canvas board, completed layer of Iridescent colors.

©Christine Sauer   10x8", acrylic on canvas board, completed layer of Iridescent colors.

The above piece is still a work in progress and will still get some tweaks.  Below is another iteration of this process.  They have even more texture than the above piece.  For these I created a painted tissue layer first.  Then a dark glaze layer was added that allowed for the tissue colors to show through a bit prior to adding the Glass Bead Gel flora.

©Christine Sauer, “Night Flora” explorations- (above) 10x8”, acrylic, mixed media on canvas board (below) work in process, 8x8” acrylic, mixed media on cradled panel,

©Christine Sauer, “Night Flora” explorations- (above) 10x8”, acrylic, mixed media on canvas board (below) work in process, 8x8” acrylic, mixed media on cradled panel,