Call me crazy, but I decided to participate in the 30 Paintings in 30 Days painting challenge on Instagram, #pcj30in30, along with hundreds of artists from around the world. I've seen other artists do Challenges on Instagram but mostly those were self-directed. This one started on September 1st. Not knowing what to expect, or if I would be able to keep up, I decided to jump in anyway on very short notice. Follow my painting journey as I explore color. To see more work from the challenge check my Instagram page @christinesauerstudio.

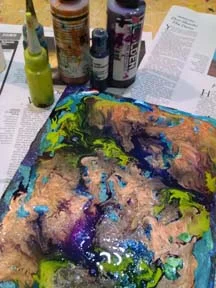
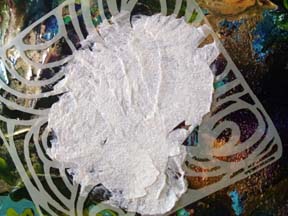
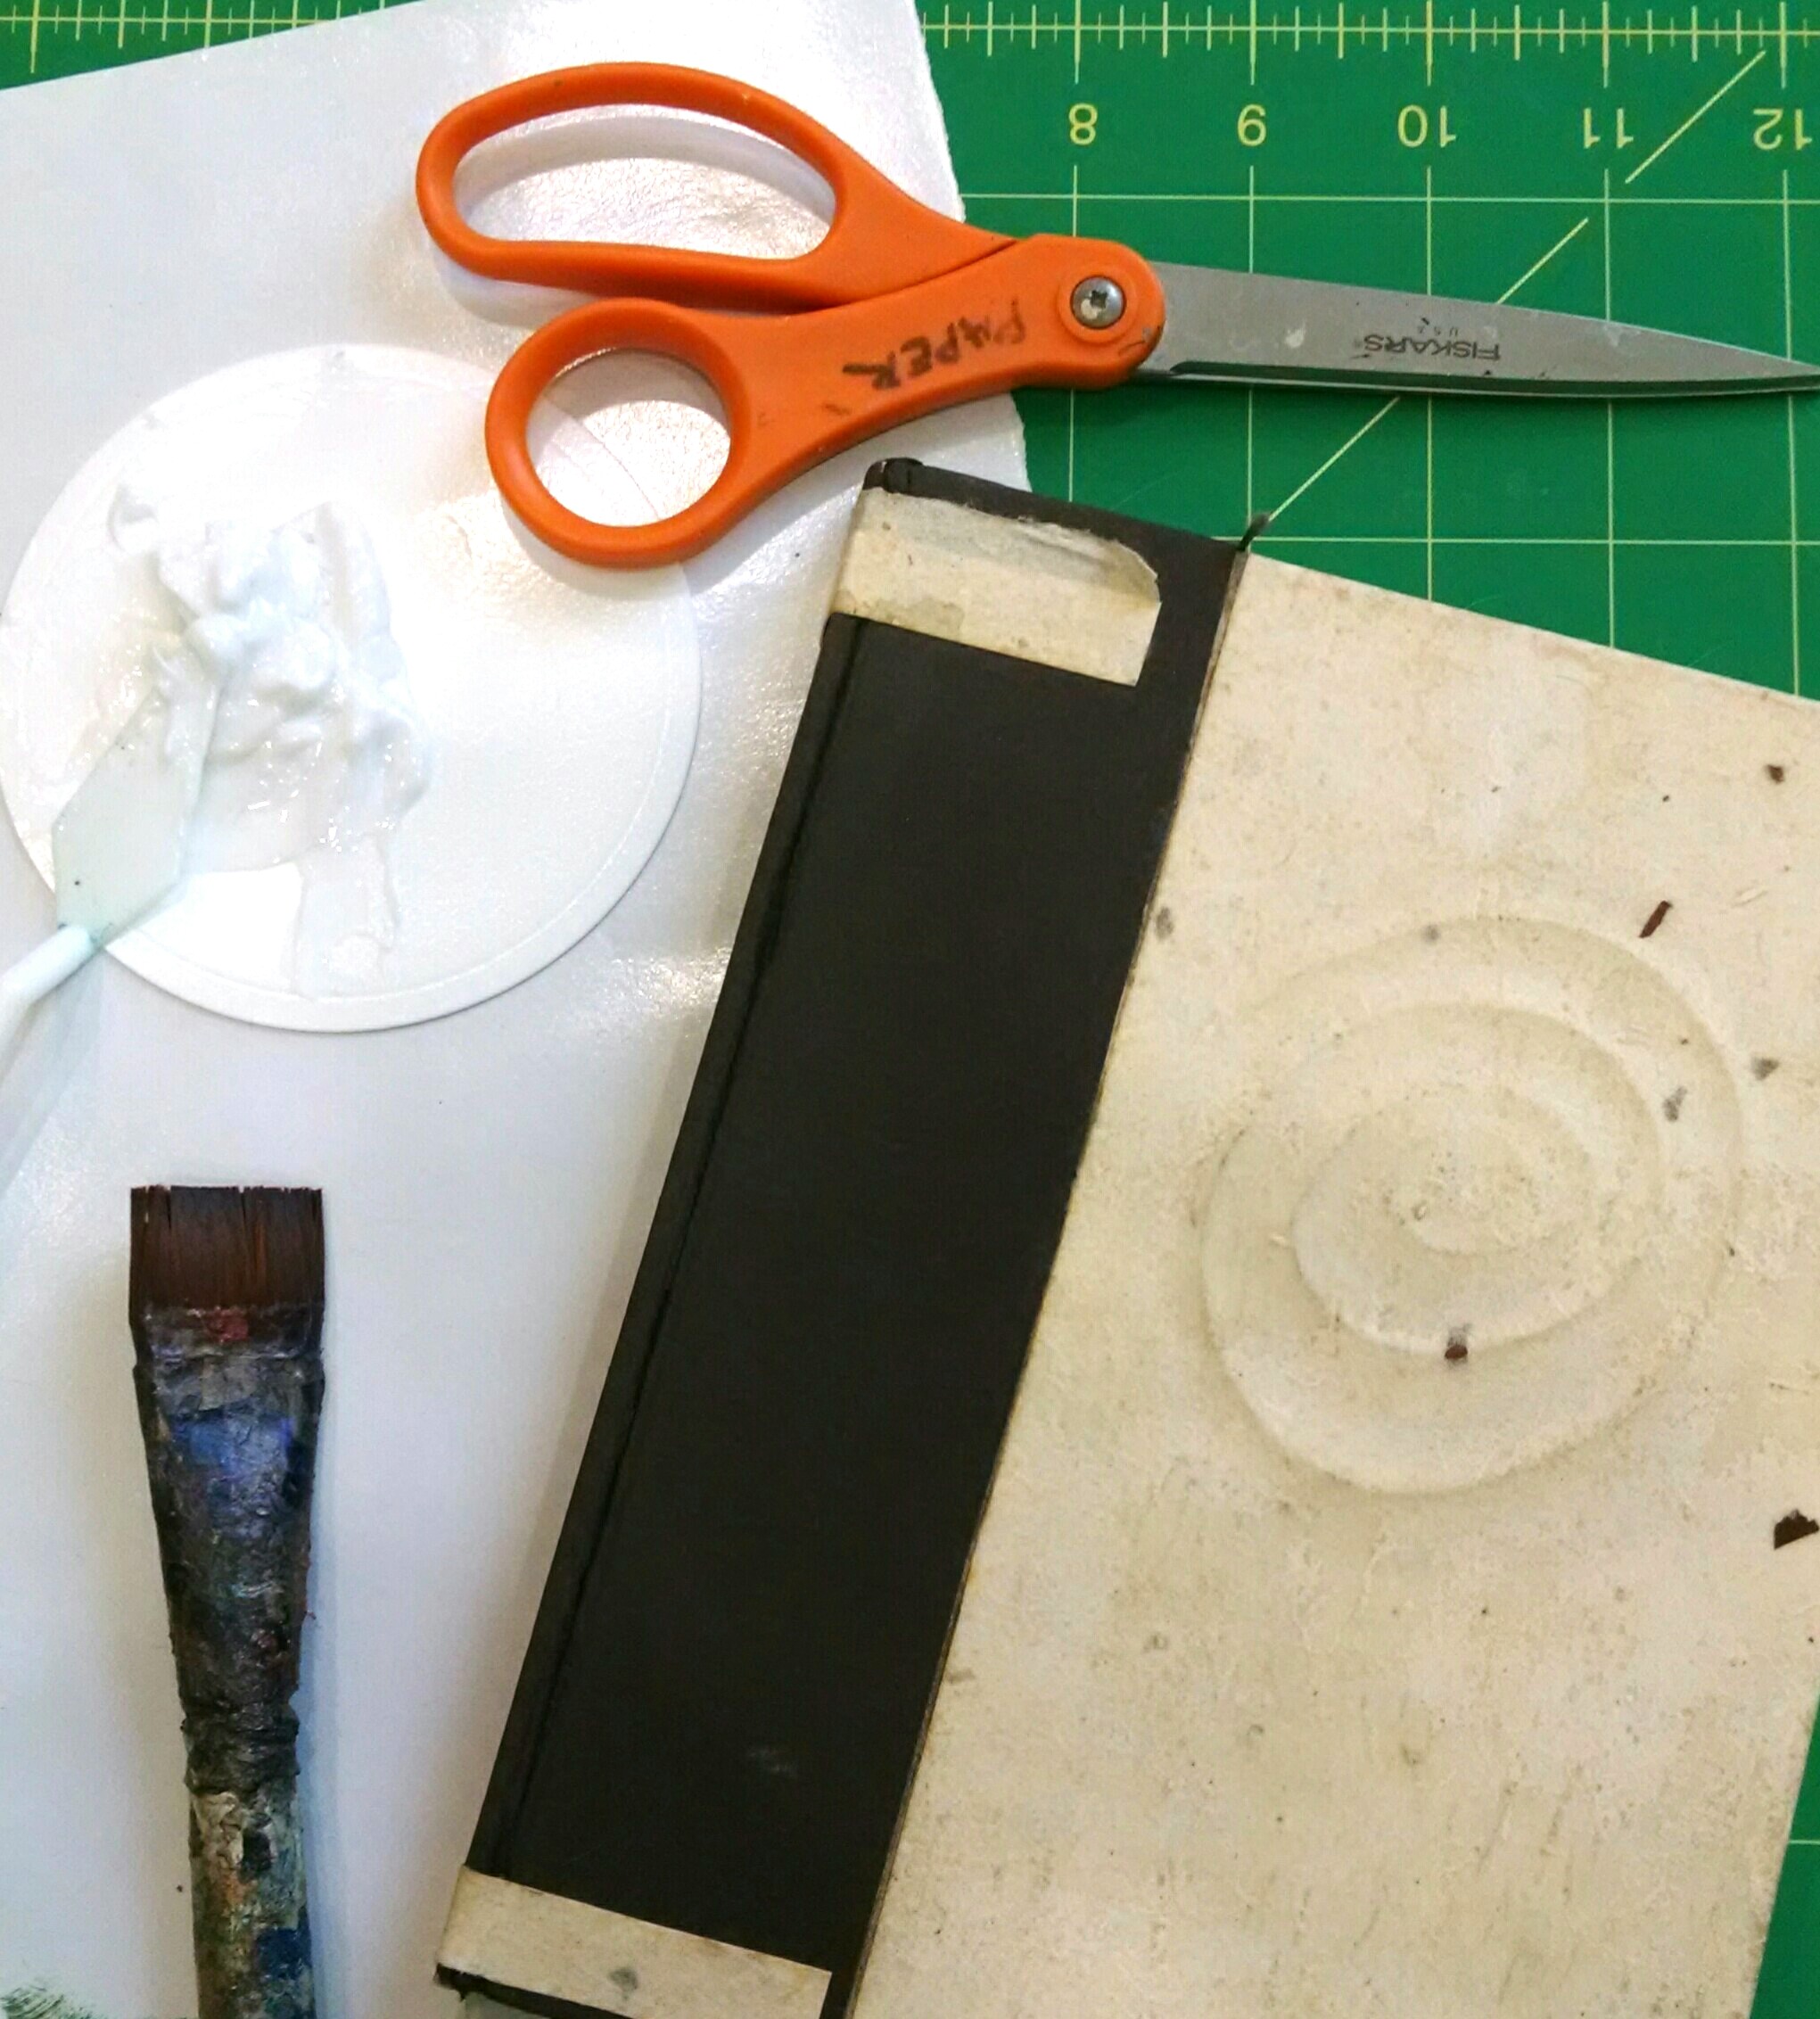
Studio work table. To keep the process manageable I started by creating 9, 8x6" paintings all at the same time. Then I worked on each one a little at a time. It's always surprising how much time small paintings can take. The goal is not to overwork them, lol!
Why do a challenge? A short, focused timeline can help you push your work along. No time for excuses, procastination or distractions! I decided to set a goal of exploring colors and palettes that are not as familiar to me. Working alongside other artists also is a good motivator to keep the energy going. At least, this is what I'm hoping for. The journey will be interesting no matter the outcome.
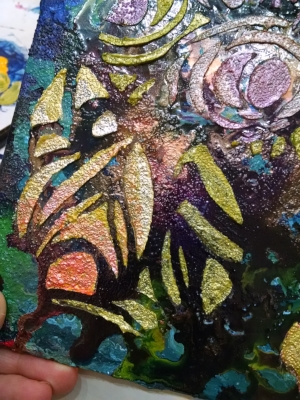
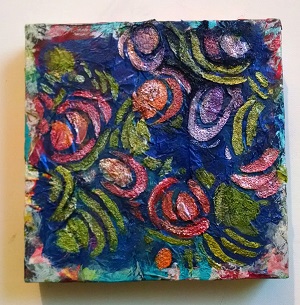
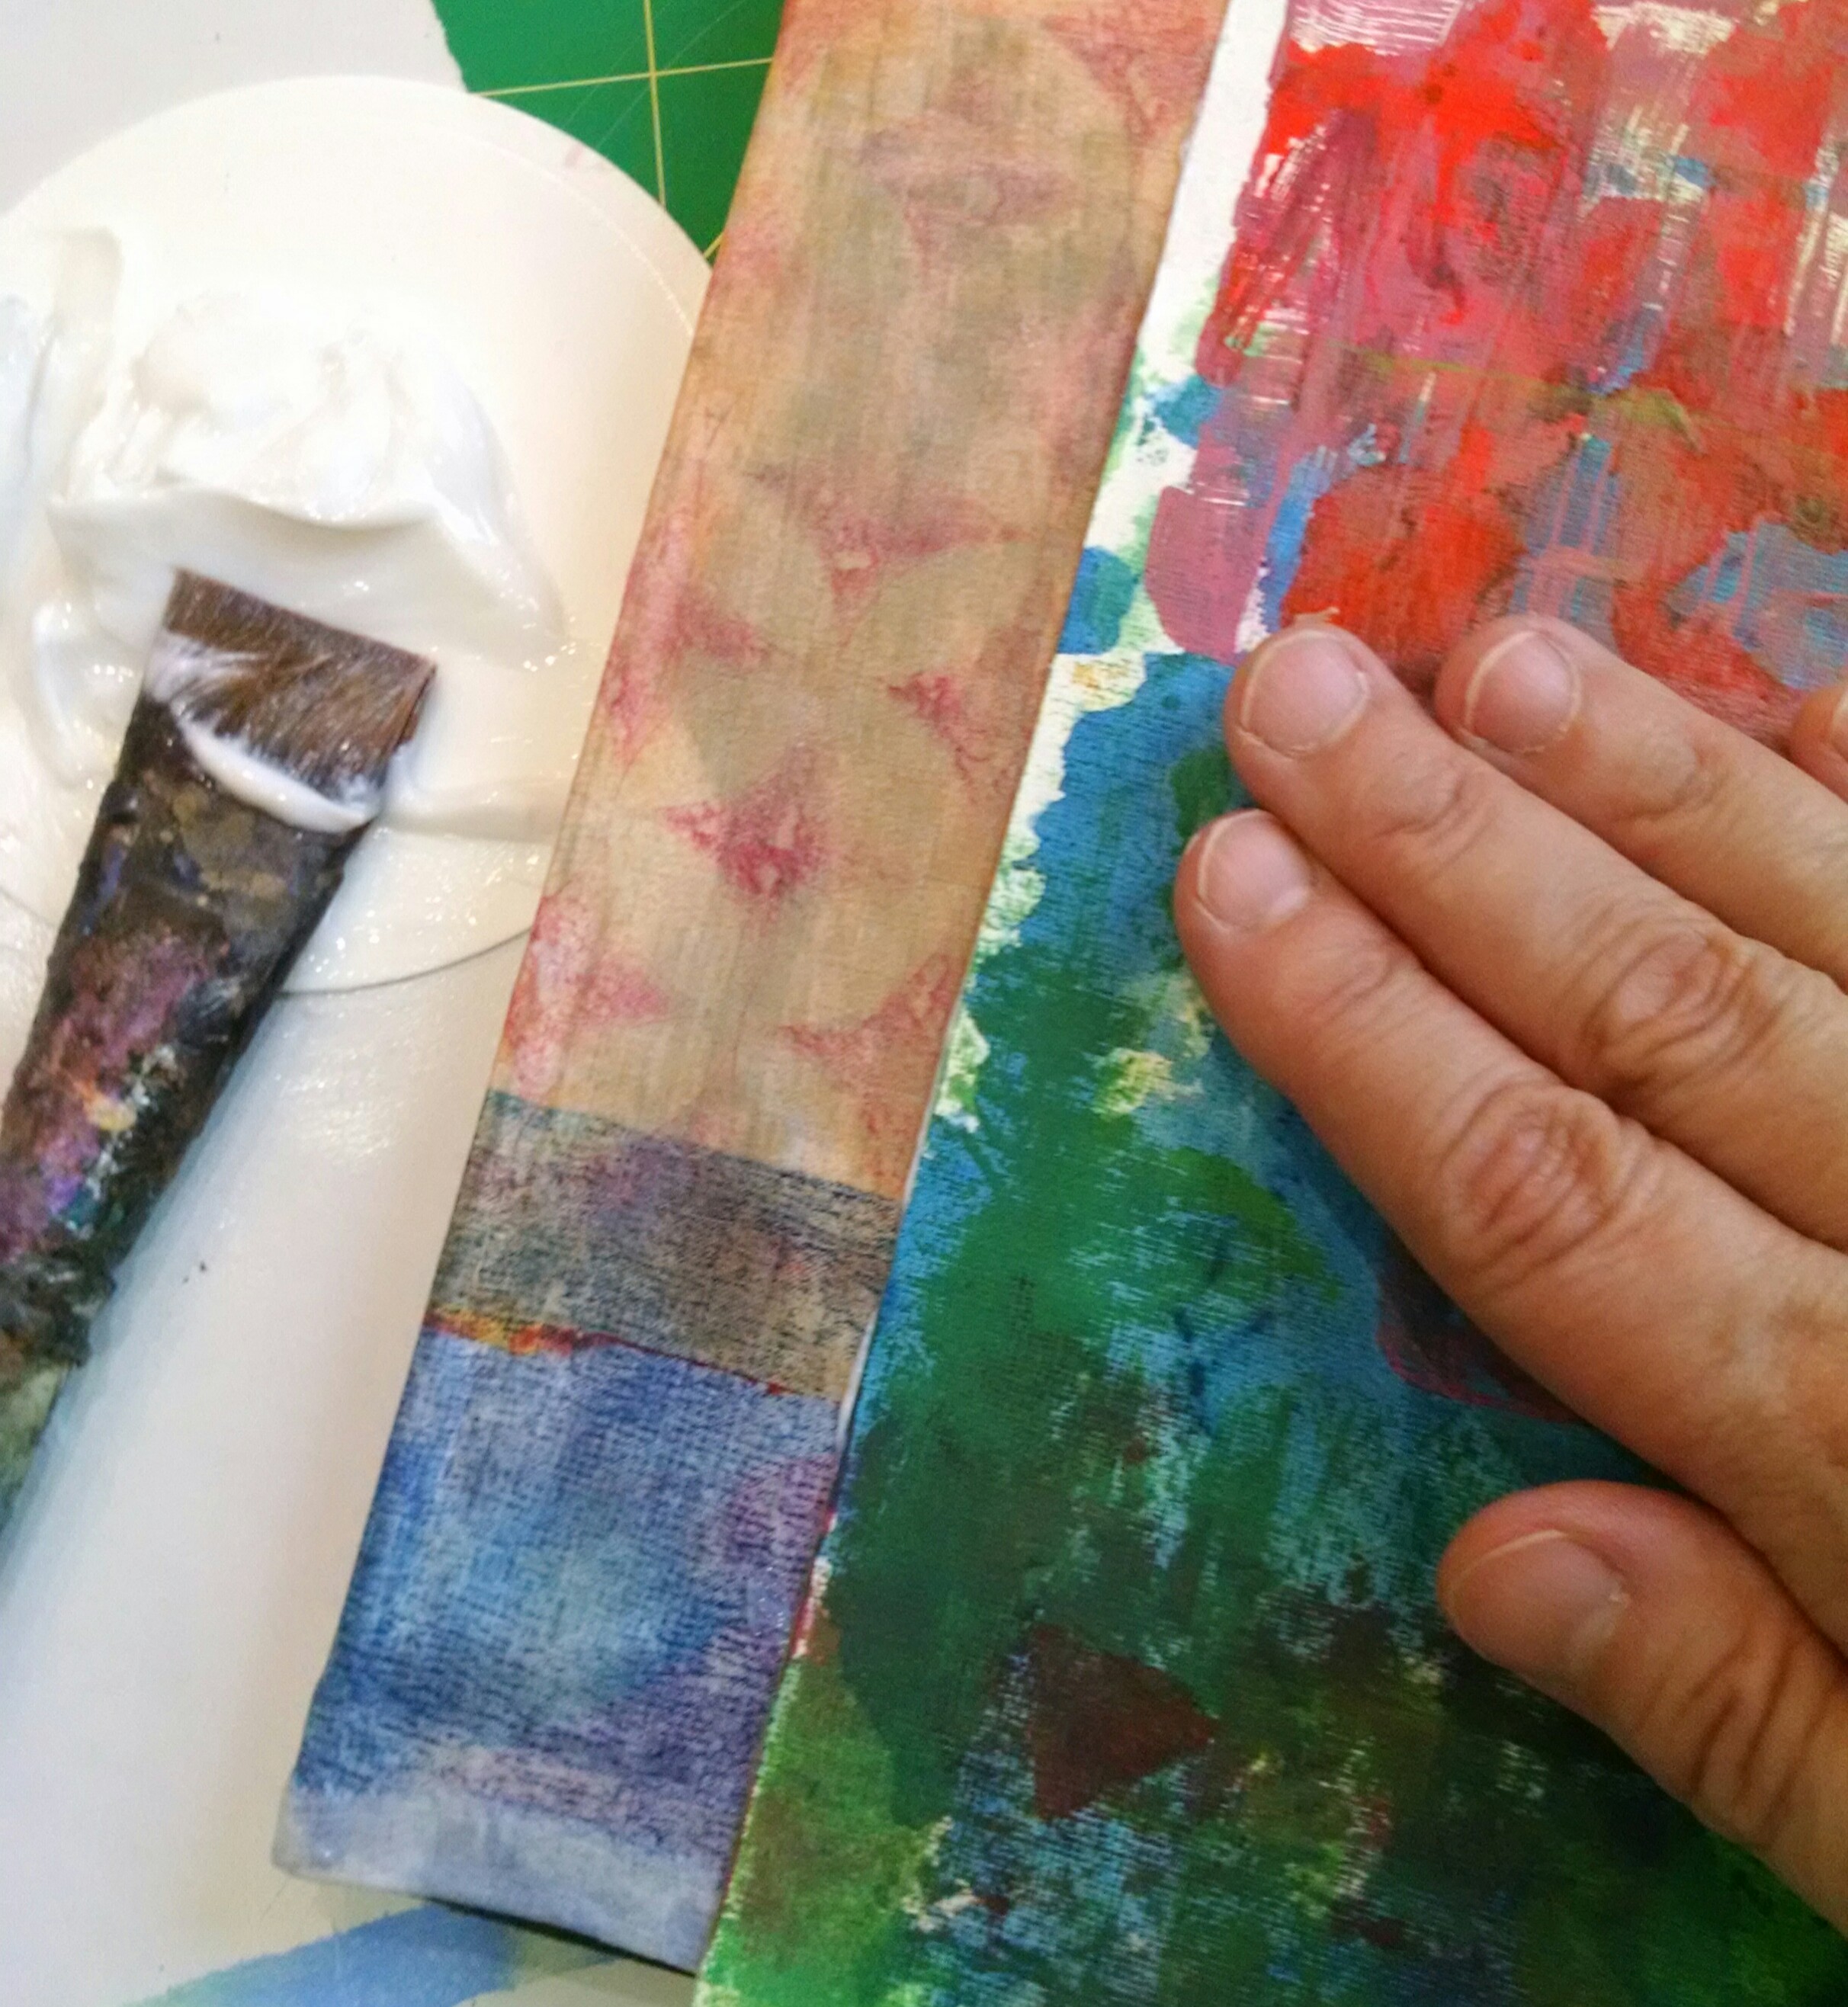
For the first several days of the challenge I created the abstract "Urban Flora" series, 8x6" acrylic on paper, inspired by the ferns and flowering bush in my backyard. I'm pushing my color comfort zone with a palette of Red Oxide, Quinacridone Nickel Azo Gold, and Manganese Blue. Plus Vat Orange and Bright Yellow were added to this palette for a bit of kick.

©Christine Sauer "Urban Flora I" 8x6" acrylic on paper
To see more images from my 30 Paintings in 30 Days Challenge join me on Instagram @christinesauerstudio. I'll be posting the series for sale there as well.